
|
Do it yourself
| |||
| ||||


How to add AUX, USB and Bluetooth to an old car radio
Model: Seat Ibiza
6K
- Years 1993-2002
In this video, we see how to add AUX, USB, and Bluetooth to the radio of an old 2000 Seat Ibiza, but the process is roughly the same for all cars from this period. The only prerequisite is that the radio must have the predisposition for the CD charger, as this adapter simulates a CD player. The one shown by the YouTuber is no longer available, but we can find one on Amazon with the code B0CQCPVBGF for 23.99 euros, with free delivery for Prime customers. However, we recommend verifying compatibility with your car before making the purchase. We then remove the faceplate of our old car radio, remove the device from the inside, locate the connectors for the peripherals, remove the blue connector dedicated to the external CD player, remove the ground wire, and then place our adapter in its place. We do a functionality test, find a place for the adapter, and reassemble the faceplate.
Posted on 26 July 2024 by ScegliAuto
Video tutorial
Related tutorials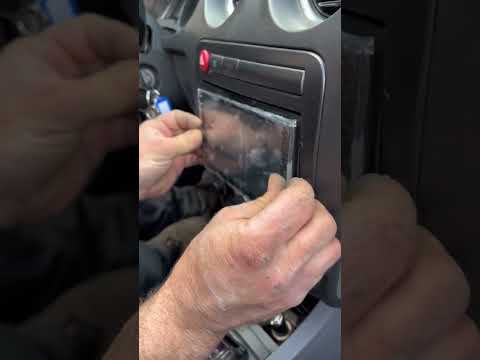
Seat Ibiza
(2002-2009 /
6L)
To remove the car radio from a Seat Ibiza, it is necessary to insert the appropriate extractor keys into the holes located on the sides of the radio.…

Seat Ibiza
(1993-2002 /
6K)
Start by opening the bonnet, ensuring it stays open for maximum safety. Then remove the splash guard protecting the lower part of the engine to acces…
Seat Ibiza
(2008-2017 /
6P, 6J)
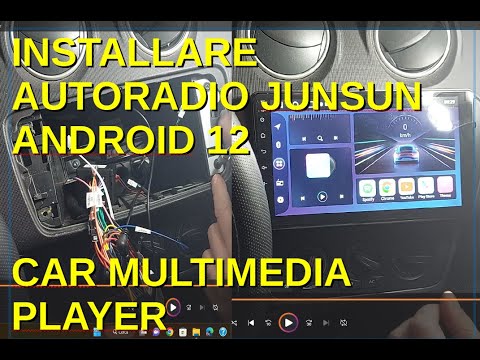
Installing a new car radio in the Seat Ibiza is a very simple operation that you can carry out independently, thanks to this video tutorial. The firs…
Other guides you may be interested in
|
How to Replace the Battery on a Honda Vision 110
To replace the battery on a Honda Vision 110, you need to remove the front fairing of the motorcycle, located directly under the front headlamp. To loosen this panel, unscrew the two screws found at its top, just below the handlebar. Once these screws are loosened, lever under the panel to detach it, gaining access to the battery underneath: this battery must be removed from its housing by unscrewing the fixing screws and disconnecting the power cables, replacing it with a new one. by ScegliAuto More videos
|
|
For advertising on this site Write to info@scegliauto.com
ScegliAuto is not responsible for any inaccuracy of the data in the lists. To report any inaccuracy or your business (if you own the business in question), please write to info@scegliauto.com
Number of seconds to generate the page: 0.109
(c) ScegliAuto 2026 - info@scegliauto.com - Privacy policy VAT number: IT01247470535 |
