
|
Do it yourself
| |||
| ||||


Replacing the Alternator on a Smart Fortwo
Model: Smart Smart
451
- Years 2007-2015
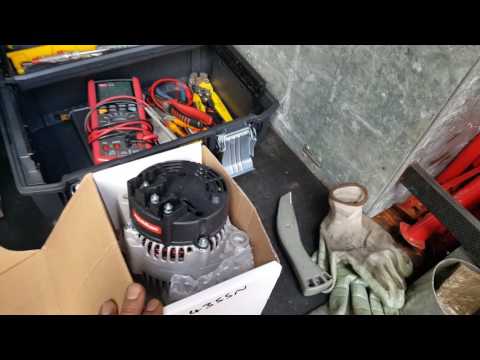
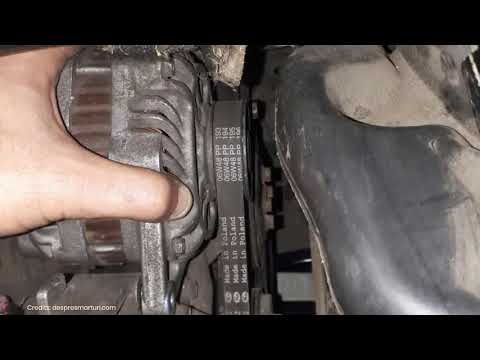
Is the alternator on your Smart Fortwo damaged? Here’s how to remove it. Disconnect the battery terminals located in the cabin. Open the engine compartment (lift the rear bonnet) and secure it. Raise the car on a column lift. Remove the covers underneath the engine by unscrewing the securing screws. Remove the alternator belt and unscrew the bolts on the side of the alternator. Extract the damaged alternator from the engine compartment. Install the new alternator in the engine compartment and connect the belt. Refit the engine protection panel. Reconnect the battery terminals and start the Smart to test its operation.
Updated on 18 March 2026 by ScegliAuto
Video tutorial
Related tutorials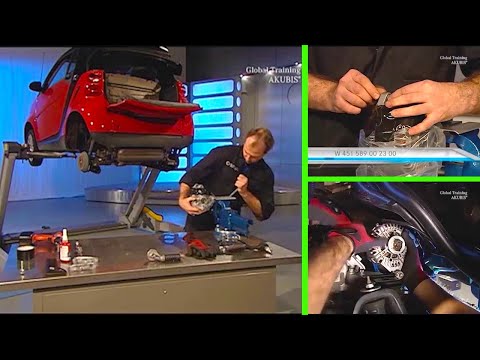
Smart
(2007-2015 /
451)
Learn how to remove the alternator on a Smart Fortwo. Lift the rear engine cover and secure it, locate the battery and disconnect the terminals (insi…
Smart
(1998-2007 /
450)
Here’s how to remove a damaged alternator on a Smart Fortwo. Disconnect the battery terminals located in the cabin of the Smart. Open the engine comp…
Smart
(2007-2015 /
451)
Before we can begin, we will have to go and lift the rear side of our Smart ForTwo. So let's start by unscrewing and removing the bolts that secure t…
Other guides you may be interested in
|
Frequently Asked QuestionsHow to Remove the CV Boot on Fiat Panda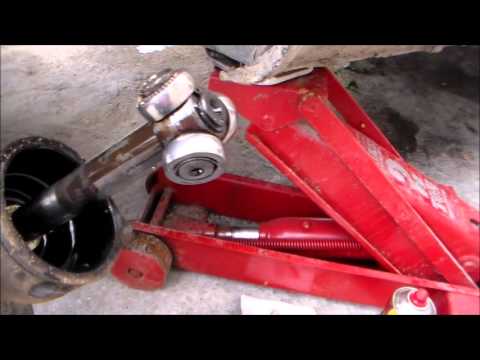
Let’s see how to remove the boot from the joint on a Fiat Panda. After positioning your car on a column lift: raise it to a comfortable height to work on, loosen the wheel nuts (using a socket wrench or air drill) and remove the wheel. Begin unscrewing the brake disc bolts with a socket wrench. Remove the bolts located under the disc and completely detach the wheel hub. Pull the arm around the joint with your hands. Fit the new boot (after removing the old one) onto the constant velocity joint, then start reassembling all the parts in reverse order. by ScegliAuto More videos
|

|
For advertising on this site Write to info@scegliauto.com
ScegliAuto is not responsible for any inaccuracy of the data in the lists. To report any inaccuracy or your business (if you own the business in question), please write to info@scegliauto.com
Number of seconds to generate the page: 0.079
(c) ScegliAuto 2026 - info@scegliauto.com - Privacy policy VAT number: IT01247470535 |