
|
Do it yourself
| |||
| ||||


Replacement of brake pads on Smart 450
Model: Smart Smart
450
- Years 1998-2007
Loosen the bolts holding the affected front wheel in place, lift the car with a jack and completely unscrew the aforementioned bolts in order to remove the wheel. Using a 17 and 13 mm wrench, remove the pin that keeps the brake caliper anchored with the pads to the disc. At this point it is child's play to take out the worn tablets. Push the piston in order to widen the seat space for the new pads, which will obviously be much thicker than those removed. Insert them and proceed backwards until complete reassembly. Repeat the operation on the other front wheel.
Posted on 2 June 2021 by ScegliAuto
Video tutorial
Related tutorials
Smart
(1998-2007 /
450)
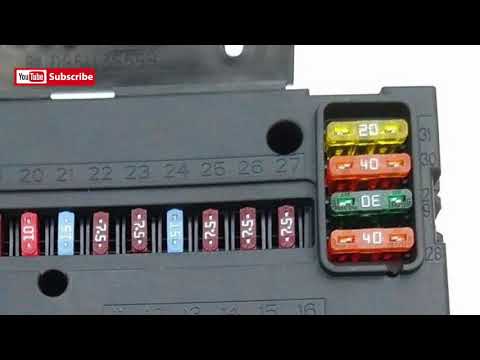
In this video we will see where the fuse box is located in the first series of the Smart Fortwo, code 450. Conventionally in cars, the fuse box is lo…
Smart
(1998-2007 /
450)
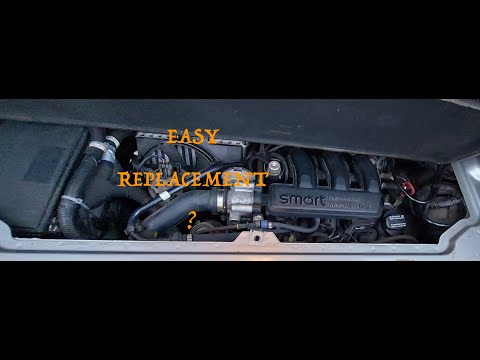
If you do not want to have problems with overheating or loss of power of the engine of your Smart 450 then you must necessarily replace the air filte…
Smart
(1998-2007 /
450)
In this video we can see where the fuse box of the Smart 450 is located. In the Smart 450 we can find two fuse boxes: one positioned on the driver's …
Other guides you may be interested in
|
How to Replace the Gear Shift Gaiter of the Honda CR-V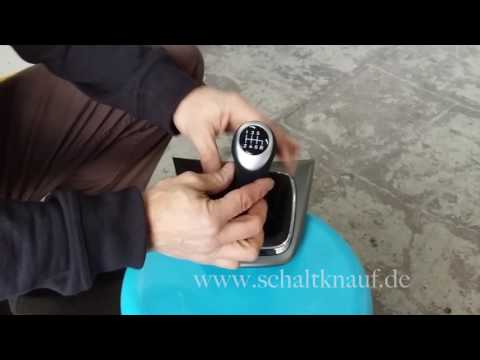
You can purchase an aftermarket gear shift cover complete with a knob, made of leather with coloured stitching. The disassembly is quite straightforward: start by unscrewing the gear shift knob by twisting it. Next, detach the trim at the base of the gear lever by prying along the edges. Then, remove the chrome trim that holds the gaiter in place, peeling off the leather edges from the plastic support. Apply new double-sided adhesive to the plastic tabs to insert and stick the edges of the new gaiter, securing it with the chrome trim. Finally, fit the gaiter complete with the knob onto the gear lever, securing it with the appropriate screws and reattaching the trim to the tunnel support. by ScegliAuto More videos
|
|
For advertising on this site Write to info@scegliauto.com
ScegliAuto is not responsible for any inaccuracy of the data in the lists. To report any inaccuracy or your business (if you own the business in question), please write to info@scegliauto.com
Number of seconds to generate the page: 0.066
(c) ScegliAuto 2026 - info@scegliauto.com - Privacy policy VAT number: IT01247470535 |