
|
Do it yourself
| |||
| ||||


How to understand the wiring diagram of the fuses on Smart 450?
Model: Smart Smart
450
- Years 1998-2007
In this video you can see the fuse diagram of the Smart 450 (model from 1998 to 2007). Through these diagrams it is possible to identify the function of each single fuse and thus understand which user corresponds to the fuse we need to replace. An occasionally blown fuse can happen, in which case it must be replaced and monitored that the problem does not recur. A blown fuse often indicates that there is a problem for that particular user. For example, if the radio fuse blows frequently, the radio is consuming too much current for what was expected. It could indicate a fault or a cable that has become damaged and short-circuited. Through this video we can also understand exactly for each fuse what is the exact current value for replacement. It is advisable never to replace a fuse with a different value from the original one, in order to avoid overheating and / or short circuits.
Posted on 21 July 2021 by ScegliAuto
Video tutorial
Related tutorials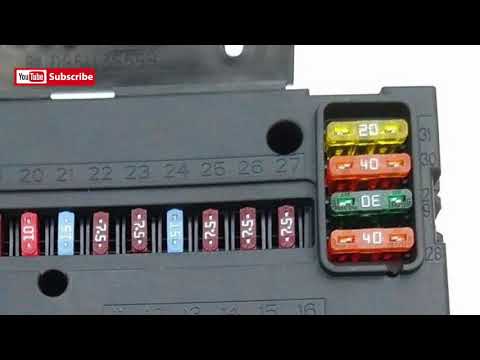
Smart
(1998-2007 /
450)
Let's see in this short and simple guide the positioning of the fuse boxes, together with their diagram, on the Smart Fortwo 450 and 451. First of al…

Smart
(1998-2007 /
450)
In the above video, we can see the fuse box of the Smart Fortwo 450 and also how to open it for repair. Most cars have these located under the steeri…
Smart
(1998-2007 /
450)
In this video we can see where the fuse box of the Smart 450 is located. In the Smart 450 we can find two fuse boxes: one positioned on the driver's …
Other guides you may be interested in
|
Frequently Asked QuestionsHow to Remove the CV Boot on Fiat Panda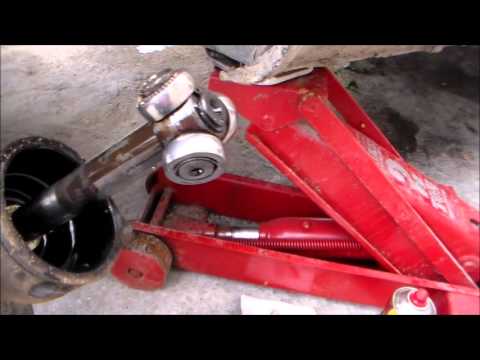
Let’s see how to remove the boot from the joint on a Fiat Panda. After positioning your car on a column lift: raise it to a comfortable height to work on, loosen the wheel nuts (using a socket wrench or air drill) and remove the wheel. Begin unscrewing the brake disc bolts with a socket wrench. Remove the bolts located under the disc and completely detach the wheel hub. Pull the arm around the joint with your hands. Fit the new boot (after removing the old one) onto the constant velocity joint, then start reassembling all the parts in reverse order. by ScegliAuto More videos
|
For advertising on this site Write to info@scegliauto.com
ScegliAuto is not responsible for any inaccuracy of the data in the lists. To report any inaccuracy or your business (if you own the business in question), please write to info@scegliauto.com
Number of seconds to generate the page: 0.042
(c) ScegliAuto 2026 - info@scegliauto.com - Privacy policy VAT number: IT01247470535 |