
|
Do it yourself
| |||
| ||||


How to remove the third stop of a Smart ForTwo 451
Model: Smart Smart
451
- Years 2007-2015
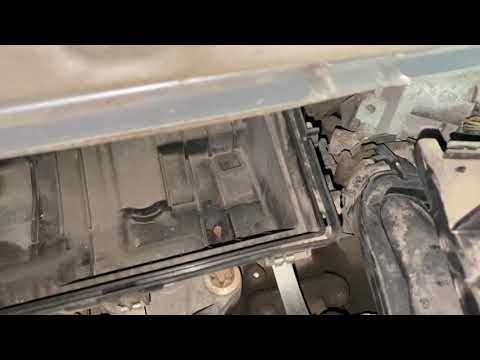
Before we can start, we will have to get out of the cockpit of our Smart ForTwo 451, and then head towards the rear of the car. So let's start by unscrewing and removing the screws that secure the third stop to the tailgate. After that, we will have to go to disengage and extract the third stop itself. By doing so, we will have freed him. At this point we will have to unhook the clip that fixes the connector, and then disconnect the connector itself. When we have disconnected the connector, we will be able to definitively remove the third stop of our Smart ForTwo 451, and we will have completed the disassembly.
Posted on 6 August 2021 by ScegliAuto
Video tutorial
Related tutorials
Smart
(2007-2015 /
451)
In today's video tutorial we will see how to install the clutch actuator on the Smart Fortwo 451, following the instructions below. First of all we l…
Smart
(2007-2015 /
451)
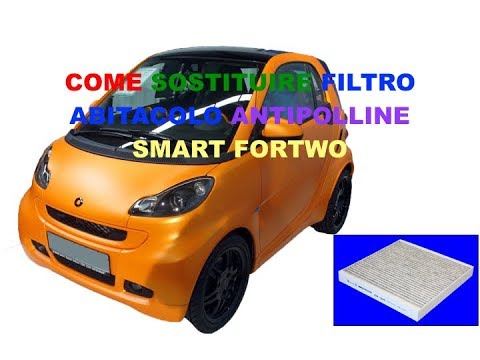
The replacement of the cabin filter of the Smart Fortwo 451 takes about 20 minutes of work. The filter is located inside the passenger compartment, n…
Smart
(2007-2015 /
451)
Replacing the air filter in the Smart Fortwo 451 is an extremely simple operation within anyone's reach. In addition to the new air filter, we need a…
Other guides you may be interested in |
How to Remove the Door Panel from a Renault Modus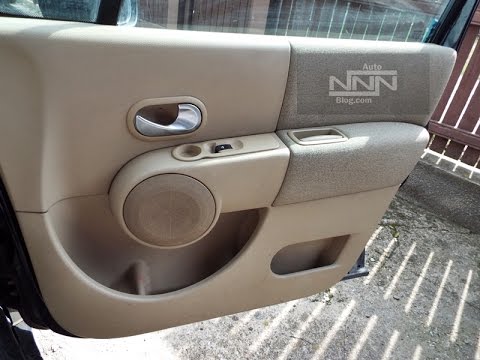
How to remove the door panel from a Renault Modus? Follow this video to see how to proceed. Before starting the disassembly, disconnect the battery terminals located in the engine bay. Begin disassembly: remove the satin screw covers located on the door opening lever, use a screwdriver to unscrew the screw, and unscrew the screws located in the handle. Once removed, also unscrew the one around the door panel. Detach the door panel, disconnect the window regulator and speaker connectors. Do not lose any of the clips located behind the plastic panel that was removed first. Now that the door panel is removed, peel off the adhesive covering from the metal and work on the pieces to be removed. Finally, reassemble everything in reverse order. by ScegliAuto More videos
|

|
For advertising on this site Write to info@scegliauto.com
ScegliAuto is not responsible for any inaccuracy of the data in the lists. To report any inaccuracy or your business (if you own the business in question), please write to info@scegliauto.com
Number of seconds to generate the page: 0.042
(c) ScegliAuto 2026 - info@scegliauto.com - Privacy policy VAT number: IT01247470535 |