
|
Do it yourself
| |||
| ||||


Instructions for removing the front bumper on the Smart Fortwo 451
Model: Smart Smart
451
- Years 2007-2015
In today's video tutorial we will see the main steps that will allow us to remove the front bumper on the Smart Fortwo 451, second generation. First we are going to remove the front hood of our car, unscrewing the screws; after which we unscrew, open the front doors and unscrew the fixing screws of the bumper that we find on the ends, as shown in the video. At this point we remove the side skirts and unscrew the fixing screws that we find on the upper part; we just have to remove the front bumper. Reverse the procedure for reassembly!
Posted on 18 August 2021 by ScegliAuto
Video tutorial
Related tutorials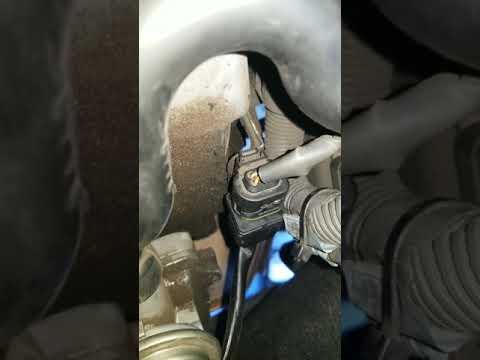
Smart
(2007-2015 /
451)
In this tutorial we will see the instructions that will allow us to remove the lambda probe, or the oxygen sensor, on a Smart Fortwo 451. Our sensor …
Smart
(2007-2015 /
451)
In today's video tutorial we will see the main steps to be able to remove and replace the clutch in a Smart Fortwo 451 1.0 MHD. To access the clutch …

Smart
(2007-2015 /
451)
In this guide, we will see the main instructions on how to disassemble and replace the front door panel of the Smart Fortwo. First, open the front do…
Other guides you may be interested in
|
How to Replace the Rear Light and Bulbs on a Ford Focus Year 2000
To replace the rear light and bulbs on a Ford Focus 2000/2004, first, open the tailgate of the boot. This gives access to the screw that holds the rear light in place. The screw to undo (using an appropriate screwdriver) is located inside the light and corresponds to the fold that accommodates the tailgate (as shown in the images). Once you start to undo it, continue with the operation and then remove the nut from the inside of the bodywork. At this point, you can remove the light, being careful to disconnect the electrical supply by unplugging the connectors or removing the entire bulb holder from its housing. This way, you can replace the bulbs. To reassemble everything, simply follow the described operations in reverse order. by ScegliAuto More videos
|

|
For advertising on this site Write to info@scegliauto.com
ScegliAuto is not responsible for any inaccuracy of the data in the lists. To report any inaccuracy or your business (if you own the business in question), please write to info@scegliauto.com
Number of seconds to generate the page: 0.059
(c) ScegliAuto 2026 - info@scegliauto.com - Privacy policy VAT number: IT01247470535 |