
|
Do it yourself
| |||
| ||||


How to replace the antenna in a Smart Fortwo 451?
Model: Smart Smart
451
- Years 2007-2015
Especially in older cars where the antenna is more extended, it may happen that this is damaged and there is a need to replace it. It is a simple operation, we only need a replacement antenna that can be purchased in the various online or physical shops. Being a generic spare part, different attachments will be supplied together with the antenna so that it can be applied in various models. We hold the antenna of the car from the base to rotate it counterclockwise in order to unscrew it, identify the suitable attachment among those available and apply it to the spare antenna, finally screw it into the base of the car.
Posted on 4 November 2021 by ScegliAuto
Video tutorial
Related tutorials
Smart
(2007-2015 /
451)
The replacement of the cabin filter of the Smart Fortwo 451 takes about 20 minutes of work. The filter is located inside the passenger compartment, n…

Smart
(2007-2015 /
451)
In today's video tutorial we will see how to install the clutch actuator on the Smart Fortwo 451, following the instructions below. First of all we l…
Smart
(2007-2015 /
451)
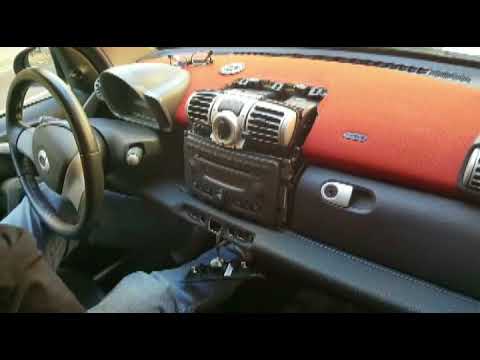
Disassembly of the damaged car radio of a Smart Fortwo, let's see how. Remove the stereo trim frame with a plastic lever (where the ventilation vents…
Other guides you may be interested in
|
How to Change the Glow Plugs on a Hyundai Santa Fe
In this video, see how to remove and replace the glow plugs on your Hyundai Santa Fe. Pull the lever to open the engine compartment located at the bottom left of the dashboard, lift the bonnet, and secure it. Follow the video for the tools to use for disassembly. Remove the plastic engine cover and the air filter kit; you will see the engine head bare without plastics. Unscrew the coils using a socket wrench and disconnect the power cables. Once all the coils are removed, unscrew the glow plugs from the head and take them out. To remove the other coils and glow plugs, you need to uncover the metal protection from the head; unscrew these as well and prepare to install the new glow plugs. Be careful not to let any debris fall into the engine head while unscrewing the glow plugs. It is advisable to vacuum the glow plug wells before disassembly. by ScegliAuto More videos
|

|
For advertising on this site Write to info@scegliauto.com
ScegliAuto is not responsible for any inaccuracy of the data in the lists. To report any inaccuracy or your business (if you own the business in question), please write to info@scegliauto.com
Number of seconds to generate the page: 0.094
(c) ScegliAuto 2026 - info@scegliauto.com - Privacy policy VAT number: IT01247470535 |