
|
Do it yourself
| |||
| ||||


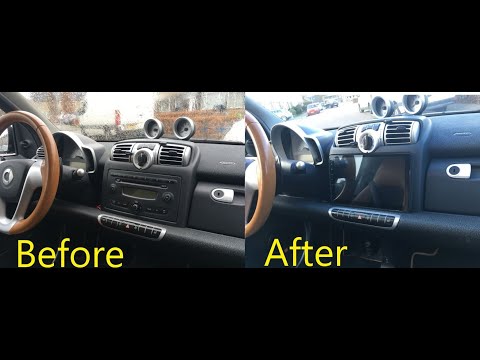
How to mount a 2 din car stereo on the Smart 451
Model: Smart Smart
451
- Years 2007-2015
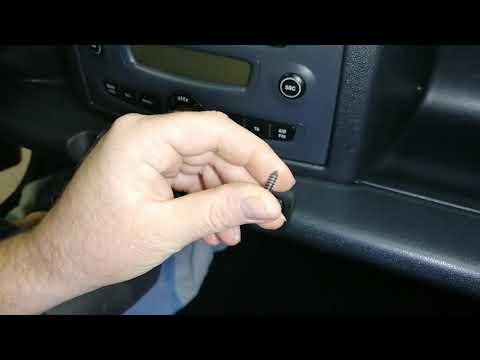
To mount a double DIN car radio or multimedia system on a Smart 451 series it is necessary to: remove the panel located on the central console which contains the 4 arrow controls and central locking, the panel is interlocking. Under the panel there are three screws that must be removed in order to extract the car radio support mask, gently pull the mask towards you releasing the joints. Under the mask, locate the other 4 fixing screws of the car radio, at which point it will be possible to extract the device, making sure to disconnect all the terminals and wiring for the electrical connection and the antenna. Finally, repeat all the operations already carried out, backwards to reassemble everything.
Posted on 28 October 2022 by ScegliAuto
Video tutorial
Related tutorials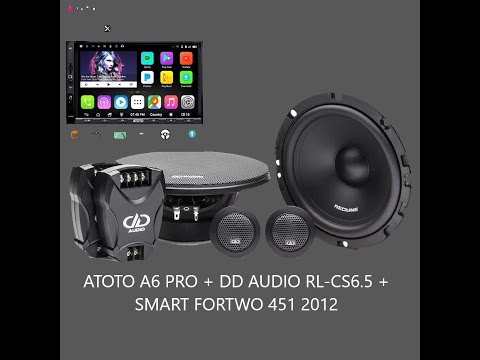
Smart
(2007-2015 /
451)
In today's video we see how to replace the speakers and the car radio in the Smart 451. First we proceed by purchasing the specific components in the…
Smart
(2007-2015 /
451)
Remove the central console button panel, using a screwdriver, remembering to disconnect the power connector. Unscrew the screw on the back. Now pivot…
Smart
(1998-2007 /
450)
Let's see in this video how to disassemble the original car radio on a Smart Fortwo 450 and 451, first and second series respectively. First of all w…
Other guides you may be interested in
|
Frequently Asked QuestionsResetting the Service on the Fiat 500X
Resetting the service on a Fiat 500X? Let's see how to reset it from inside the car. Enter the cabin and turn on the instrument cluster using the button next to the steering wheel. Press the accelerator pedal three times in quick succession, then release the pedal, turn off the instrument cluster, and then turn it back on, waiting for it to illuminate. Always remember to make changes to the onboard computer with the engine off. Check the changes made on the car. Turn off the instrument cluster after setting. by ScegliAuto More videos
|

|
For advertising on this site Write to info@scegliauto.com
ScegliAuto is not responsible for any inaccuracy of the data in the lists. To report any inaccuracy or your business (if you own the business in question), please write to info@scegliauto.com
Number of seconds to generate the page: 0.085
(c) ScegliAuto 2026 - info@scegliauto.com - Privacy policy VAT number: IT01247470535 |