
|
Do it yourself
| |||
| ||||


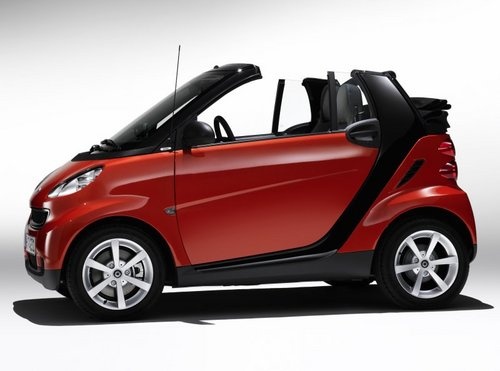
How to restore the plastics of a Smart 451
Model: Smart Smart
451
- Years:
2007, 2008, 2009, 2010, 2011, 2012, 2013, 2014, 2015
Video tutorial
Let’s see how to restore the plastics of a Smart 451 using a specific product: the VAE Protection Titanium costs £20.90 on the Veneto Auto Extreme website. First, sand the surface with 360 grit sandpaper to clean it thoroughly. Then, continue wet sanding with 1000 grit. Dry with a microfibre cloth. On the applicator pad included in the package, apply 5 drops of the product and apply carefully. For non-transparent plastic parts, sanding is not necessary; you can apply the product directly, then wipe with a clean cloth. Use the same procedure for the headlights. Here, the polycarbonate must be sanded until it becomes completely opaque. There is no need to wipe the polycarbonate with a microfibre cloth after using the pad with the product. Wait at least 48 hours before exposing the vehicle to rain and humidity.
Updated on 23 June 2026 by ScegliAuto
Related tutorials
Smart
(2007-2015 /
451)
This guide shows how to remove the indicator lights on the Smart ForTwo 451. To perform this operation correctly, it is advisable to use a plastic tr…
Smart
(2007-2015 /
451)
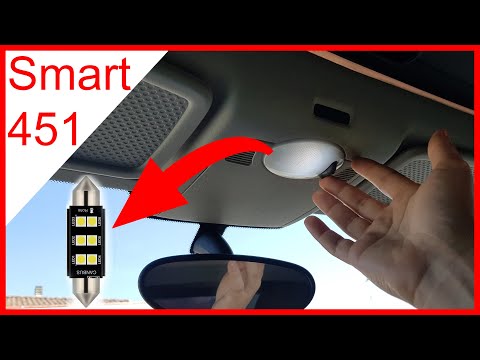
Today, you will learn how to remove the interior light on a Smart 451. Pry between the fixing plastics and the transparent light without breaking the…

Smart
(2007-2015 /
451)
How to remove the external handle of the Smart Fortwo? Here’s a brief guide on how to take off the handle and remove it from the door housing. To dis…
ScegliAuto offers an extensive international collection of automotive tutorials available in 12 languages. Each guide combines instructional videos with original explanations written by experienced human editors, along with information about the car models covered.
Other guides you may be interested in
|
How to Remove the Cabin Fan in the Nissan Qashqai?
The cabin fan in any vehicle, specifically the Nissan Qashqai this time, may fail for various reasons: blown fuse, shorted wire, but the most serious issue is a broken fan. This means you need to remove it and check it, and if necessary, replace it. In this vehicle, it is located in the footwell area, so you will need to remove the carpet covering of the centre tunnel, then carefully navigate through the various wires present, and finally, once located, disconnect the electrical wires supplying it and unscrew the fixing screws. by ScegliAuto More videos
|
|
For advertising on this site Write to info@scegliauto.com
ScegliAuto is not responsible for any inaccuracy of the data in the lists. To report any inaccuracy or your business (if you own the business in question), please write to info@scegliauto.com
Number of seconds to generate the page: 0.022
(c) ScegliAuto 2026 - info@scegliauto.com - Privacy policy - About us VAT number: IT01247470535 |
