
|
Do it yourself
| |||
| ||||


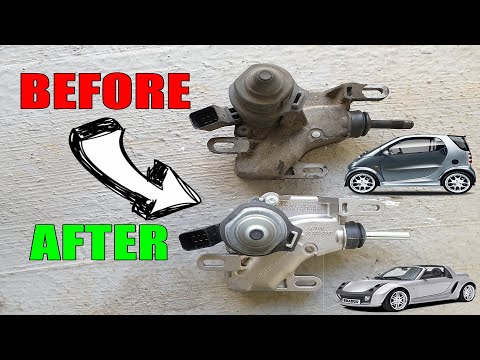
Replacing the clutch actuator on the Smart
Model: Smart Smart
451
- Years 2007-2015
In this description, we will see how to disassemble the gearbox actuator on this car, let's try to summarize the operations to be carried out in this description, also helping us with the video. The actuator is located under the car at the rear, therefore it is necessary to lift the car and proceed to disconnect the electrical connectors. Then proceed to unscrew the nuts with a pneumatic gun that fix the actuator to the frame. Finally, it will be possible to remove the actuator and replace it with the new one and then reassemble the fixing bolts and reconnect the electrical connectors.
Posted on 25 January 2023 by ScegliAuto
Video tutorial
Related tutorials
Smart
(1998-2007 /
450)
In this short and simple guide, we will see how the clutch actuator of the Smart Fortwo works. The clutch actuator of this car works electronically a…
Smart
(1998-2007 /
450)
We see in this video the instructions to be able to disassemble and replace the clutch actuator on a Smart Fortwo and Roadster. First we go to identi…

Smart
(2007-2015 /
451)
In order to replace the clutch actuator on the Smart, you need to lift the car with a jack or a lift, so that it is possible to locate the clutch act…
Other guides you may be interested in
|
Frequently Asked QuestionsRemoving the Battery from a Citroen Xsara Picasso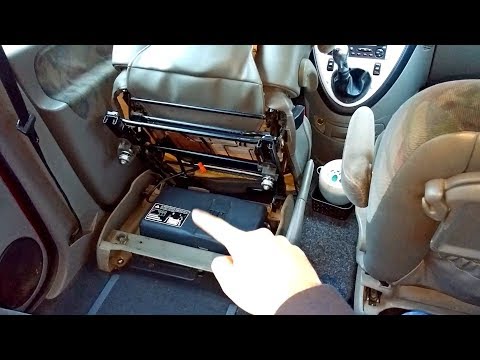
How to replace the battery in a Citroen Xsara Picasso? This video explains how to remove the battery. Open the car door and lift the driver's seat; the battery is located underneath it (in other cars, it is commonly found in the engine bay). Remove the plastic cover of the battery cover, and begin unscrewing the securing bolts of the battery terminals with the appropriate socket wrench. Remove the old battery using the plastic handle and fit a new one, tightening the power terminals. Close the battery compartment and lower the driver's seat. by ScegliAuto More videos
|

|
For advertising on this site Write to info@scegliauto.com
ScegliAuto is not responsible for any inaccuracy of the data in the lists. To report any inaccuracy or your business (if you own the business in question), please write to info@scegliauto.com
Number of seconds to generate the page: 0.057
(c) ScegliAuto 2026 - info@scegliauto.com - Privacy policy VAT number: IT01247470535 |