
|
Do it yourself
| |||
| ||||


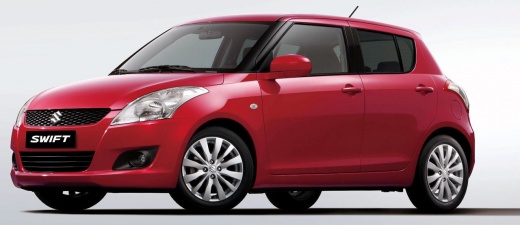
Replacing the Air Filter on a Suzuki Swift 1.4
Model: Suzuki Swift
AZG, MK 5, Rs41
- Years:
2010, 2011, 2012, 2013, 2014, 2015, 2016, 2017
Video tutorial
Today, we will go through the step-by-step instructions on how to remove and replace the engine air filter on a Suzuki Swift 1.4. First, open the bonnet of the vehicle and start by unhooking the two metal levers on the filter box cover, located on the side; then disconnect the intake hose, thus removing the cover, as shown in the video. At this point, remove the air filter cartridge, cleaning the inside of any residual dirt; insert the new air filter the correct way, reassemble the filter box, and reconnect the hose.
Posted on 14 May 2026 by ScegliAuto
Related tutorials
Suzuki Swift
(2004-2010 /
MK 4, Rs41)
If you own a Suzuki Swift and are wondering how you can replace the cabin air filter yourself, then all you have to do is read the following guide an…

Suzuki Swift
(2004-2010 /
MK 4, Rs41)
The quality of the air breathed inside your Suzuki Swift while using the air conditioning is ensured by the proper functioning of the dedicated air f…

Suzuki Swift
(2017-2024 /
MK 6, A2L)
To replace the engine air filter of your sixth-generation Suzuki Swift by yourself, you really only need a few minutes. All you have to do is read th…
Other guides you may be interested in
|
How to Set the Time in an Audi A4?
In this tutorial, you will see how to set the time in an Audi A4, a very simple and quick operation to perform after replacing the battery or when the time changes. First, insert the key and turn on the instrument cluster. Then, press the "SETUP" button located on the center console. Next, press the upper left arrow button, navigate to the "Time" option, and use the central knob to adjust the clock. Finally, set any necessary formats and save by returning to the main screen. by ScegliAuto More videos
|
|
For advertising on this site Write to info@scegliauto.com
ScegliAuto is not responsible for any inaccuracy of the data in the lists. To report any inaccuracy or your business (if you own the business in question), please write to info@scegliauto.com
Number of seconds to generate the page: 0.048
(c) ScegliAuto 2026 - info@scegliauto.com - Privacy policy VAT number: IT01247470535 |
