
|
Do it yourself
| |||
| ||||


How to replace the cabin air filter of the Suzuki Swift
Model: Suzuki Swift
MK 4, Rs41
- Years 2004-2010
If you own a Suzuki Swift and are wondering how you can replace the cabin air filter yourself, then all you have to do is read the following guide and follow the procedure described. First of all, make sure you have a new air filter that is perfectly compatible with your Suzuki Swift, then enter the car from the passenger side and proceed with the removal of the entire glove compartment. Once you have done this, open the box containing the air filter and replace it.
Posted on 18 April 2025 by ScegliAuto
Video tutorial
Related tutorials
Suzuki Swift
(2004-2010 /
MK 4, Rs41)
The quality of the air breathed inside the cabin while using the air conditioning of your Suzuki Swift is guaranteed by the proper functioning of the…
Suzuki Swift
(2004-2010 /
MK 4, Rs41)
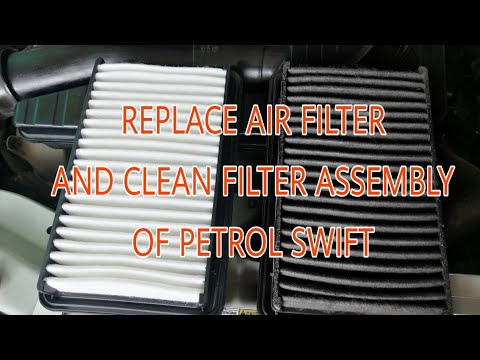
How to remove the air filter from a Suzuki Swift? Let's see the removal and replacement procedure. Lift the front bonnet to access the area where the…

Suzuki Swift
(2017-2024 /
MK 6, A2L)
To replace the engine air filter of your sixth-generation Suzuki Swift by yourself, you really only need a few minutes. All you have to do is read th…
Other guides you may be interested in
|
How to Open a Stuck Boot on the Peugeot 407?
On the Peugeot 407, the boot may become stuck, possibly due to a problem with the control button or the lock actuator. In such cases, you can perform an emergency opening by following the simple procedure shown in this tutorial. First, open the rear doors, then lower the seat back by operating the release lever. Next, go inside the boot, locate the lock, and manually operate it using a flathead screwdriver. The boot will then be free to open. by ScegliAuto More videos
|
|
For advertising on this site Write to info@scegliauto.com
ScegliAuto is not responsible for any inaccuracy of the data in the lists. To report any inaccuracy or your business (if you own the business in question), please write to info@scegliauto.com
Number of seconds to generate the page: 0.491
(c) ScegliAuto 2026 - info@scegliauto.com - Privacy policy VAT number: IT01247470535 |
