
|
Do it yourself
| |||
| ||||


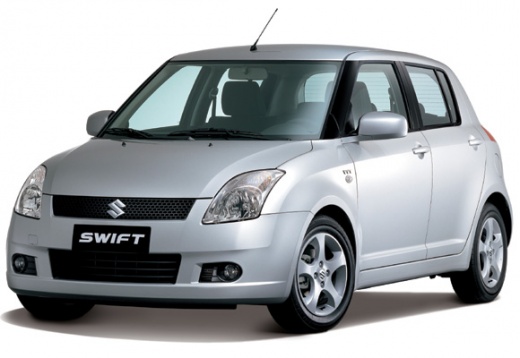
How to Replace the Cabin Air Filter on a Suzuki Swift
Model: Suzuki Swift
MK 4, Rs41
- Years:
2004, 2005, 2006, 2007, 2008, 2009, 2010
Video tutorial
The quality of the air breathed inside your Suzuki Swift while using the air conditioning is ensured by the proper functioning of the dedicated air filter. When it is excessively worn or dirty, air quality deteriorates significantly, and you should replace it as soon as possible. Here’s how to do it. First, enter your Suzuki Swift and reach the passenger side, then open the glove compartment and locate the air filter box. Finally, open the box and proceed with the filter replacement.
Updated on 1 October 2026 by ScegliAuto
Related tutorials
Suzuki Swift
(2004-2010 /
MK 4, Rs41)
If you own a Suzuki Swift and are wondering how you can replace the cabin air filter yourself, then all you have to do is read the following guide an…

Suzuki Swift
(2017-2024 /
MK 6, A2L)
To replace the engine air filter of your sixth-generation Suzuki Swift by yourself, you really only need a few minutes. All you have to do is read th…

Suzuki Swift
(2010-2017 /
AZG, MK 5, Rs41)
Below are the steps to remove and replace the cabin air filter on a Suzuki Swift. First, get inside the vehicle and start by opening and removing the…
Other guides you may be interested in
|
How to reset the tyre pressure warning light on the Kia Niro EV?
To reset the tyre pressure warning light on the Kia Niro EV, inflate the tyres until they reach the correct pressure value. This value is indicated on the sticker attached to the driver's door pillar. Once the tyres are inflated, turn on the instrument cluster to check that the warning light has completely disappeared from the display. If it is still present, you may need to drive for a few miles to ensure it disappears completely from the screen. by ScegliAuto More videos
|
|
For advertising on this site Write to info@scegliauto.com
ScegliAuto is not responsible for any inaccuracy of the data in the lists. To report any inaccuracy or your business (if you own the business in question), please write to info@scegliauto.com
Number of seconds to generate the page: 0.256
(c) ScegliAuto 2026 - info@scegliauto.com - Privacy policy VAT number: IT01247470535 |
