
|
Do it yourself
| |||
| ||||


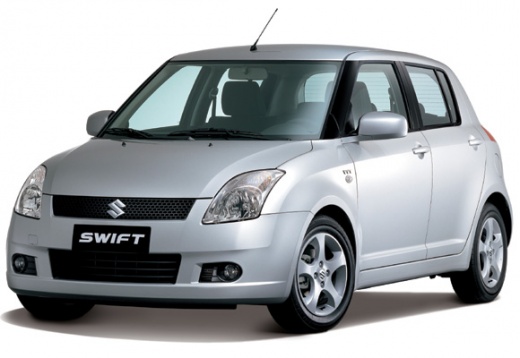
How to clean the condensate drain of the air conditioner of the Suzuki Swift MK4
Model: Suzuki Swift
MK 4, Rs41
- Years:
2004, 2005, 2006, 2007, 2008, 2009, 2010
Video tutorial
In this video, we see how to clean the condensate drain of the air conditioning system of the Suzuki Swift MK4: the symptom is the emission of a bad odor from the ventilation ducts; if the external drains are not clogged, then the problem is the condensate drain. From the trunk, we need to remove the right side pillar, in order to then remove the carpet covering the right wheel cover. Here we will find a screw, which we must remove and which holds in place a kind of expanding insulation, and underneath we find the cap where the condensate has formed: we drain it into a container. The best thing is to have a liquid vacuum cleaner to make sure to remove any residue. Then we dry everything and put it back in place. Operation completed.
Posted on 8 June 2025 by ScegliAuto
Related tutorials
Suzuki Swift
(2004-2010 /
MK 4, Rs41)
The quality of the air breathed inside your Suzuki Swift while using the air conditioning is ensured by the proper functioning of the dedicated air f…

Suzuki Swift
(2004-2010 /
MK 4, Rs41)
If you own a Suzuki Swift and are wondering how you can replace the cabin air filter yourself, then all you have to do is read the following guide an…
Suzuki Swift
(2004-2010 /
MK 4, Rs41)
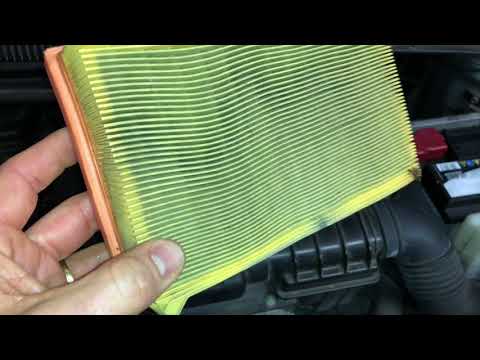
How to remove the air filter on Suzuki Swift? This operation is very easy, let's see what to do. Pull up the engine compartment release lever located…
Other guides you may be interested in
|
How to Remove the Rear Seat of a Hyundai Tucson?
To remove the rear seat of a Hyundai Tucson, follow these steps. Start by moving the front seats to their most forward position to gain space. Next, locate the release lever on the underside of the rear seat, near the floor. Press this lever down while pulling the seat upwards to unlock it from the anchor pins. Once unlocked, tilt the seat upwards and forwards to remove it from its position. Repeat this process for both sides of the rear seat. Be careful of any electrical cables or components that may be connected to the seat during removal. Once the rear seat is removed, the disassembly is complete. by ScegliAuto More videos
|
|
For advertising on this site Write to info@scegliauto.com
ScegliAuto is not responsible for any inaccuracy of the data in the lists. To report any inaccuracy or your business (if you own the business in question), please write to info@scegliauto.com
Number of seconds to generate the page: 0.029
(c) ScegliAuto 2026 - info@scegliauto.com - Privacy policy VAT number: IT01247470535 |
