
|
Do it yourself
| |||
| ||||


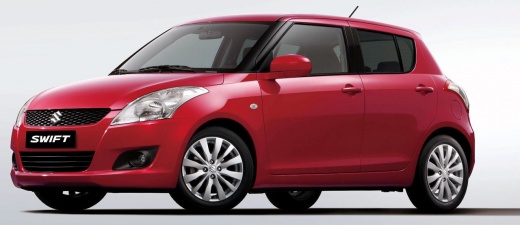
How to Locate the Fuse Box in the Suzuki Swift
Model: Suzuki Swift
AZG, MK 5, Rs41
- Years:
2010, 2011, 2012, 2013, 2014, 2015, 2016, 2017
Video tutorial
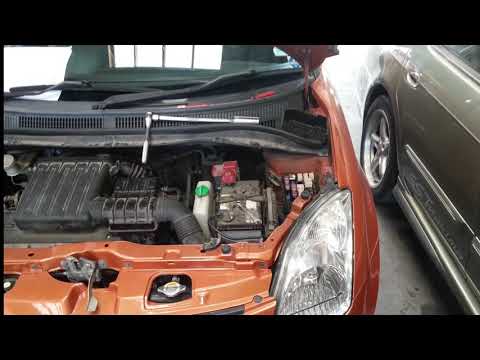
In this video, you will learn how to locate the fuse box in the Suzuki Swift. Open the bonnet and look to the right of the engine at the battery level. Moving further right, in the corner of the engine bay, there is a black plastic box containing a series of fuses. Inside the cover, you will find the diagram for the fuse assignments for various functions of the vehicle. Moving inside the cabin, look under the steering wheel in the pedal area. Mounted on the upper panel, you will find a second fuse box.
Updated on 21 May 2026 by ScegliAuto
Related tutorials
Suzuki Swift
(2004-2010 /
MK 4, Rs41)
In this brief guide, let's find out where the fuse boxes are located on a Suzuki Swift, along with the fuse diagram. First, get into the vehicle on t…
Suzuki Swift
(2004-2010 /
MK 4, Rs41)
Today's guide will show you the positioning and diagram of the fuses in the Suzuki Swift. First, open the bonnet of the vehicle and locate the extern…

Suzuki Swift
(2010-2017 /
AZG, MK 5, Rs41)
By following the steps outlined in this guide, we will see the diagram and placement of the fuse boxes for the Suzuki Swift. First, get inside the ve…
Other guides you may be interested in
|
How to Reset the Tyre Pressure Warning Light on the Opel Mokka?
To reset the tyre pressure warning light on the Opel Mokka, turn on the ignition by inserting the key into the ignition switch. Once the ignition is on, navigate through the menu that appears on the dashboard by pressing the MENU button on the lever to the left of the steering wheel. When the tyre pressure option appears, press and hold the SET/CLR button located on the same lever. This will reset the warning light, and you can then turn off the ignition. by ScegliAuto More videos
|
For advertising on this site Write to info@scegliauto.com
ScegliAuto is not responsible for any inaccuracy of the data in the lists. To report any inaccuracy or your business (if you own the business in question), please write to info@scegliauto.com
Number of seconds to generate the page: 0.981
(c) ScegliAuto 2026 - info@scegliauto.com - Privacy policy VAT number: IT01247470535 |
