
|
Do it yourself
| |||
| ||||


Changing the Pollen Filter of the Suzuki Swift
Model: Suzuki Swift
MK 3
- Years:
1994, 1995, 1996, 1997, 1998, 1999, 2000, 2001, 2002, 2003, 2004
Video tutorial
In this brief guide, we will discover how to remove and replace the cabin air filter of the Suzuki Swift, following the instructions below. First, get inside the vehicle and start by removing the glove compartment; to do this, unclip the two side arms, as shown in the video. Next, remove the cover of the filter box and take out the filter itself; then insert the new pollen filter in the correct orientation (usually indicated by printed arrows on the filter). Now reassemble the glove compartment!
Updated on 14 June 2026 by ScegliAuto
Related tutorials
Suzuki Swift
(2010-2017 /
AZG, MK 5, Rs41)
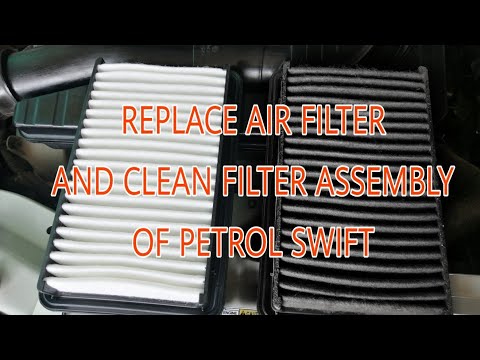
Below are the steps to remove and replace the cabin air filter on a Suzuki Swift. First, get inside the vehicle and start by opening and removing the…
Suzuki Swift
(2004-2010 /
MK 4, Rs41)
How to remove the air filter from a Suzuki Swift? Let's see the removal and replacement procedure. Lift the front bonnet to access the area where the…

Suzuki Swift
(2004-2010 /
MK 4, Rs41)
The quality of the air breathed inside your Suzuki Swift while using the air conditioning is ensured by the proper functioning of the dedicated air f…
Other guides you may be interested in
|
How to Open the Hood of the BMW X3
Today, you will learn how to open and close the hood of the BMW X3. To perform this simple operation, lift the hood release lever located next to the door seal on the driver’s side. After pulling the lever, you will notice that the hood will lift slightly. Position yourself in front of the hood and lift it after moving the internal lever from left to right. To keep the hood secure during maintenance, use the side support rod. To close the hood, simply let it fall back into place. by ScegliAuto More videos
|
|
For advertising on this site Write to info@scegliauto.com
ScegliAuto is not responsible for any inaccuracy of the data in the lists. To report any inaccuracy or your business (if you own the business in question), please write to info@scegliauto.com
Number of seconds to generate the page: 0.097
(c) ScegliAuto 2026 - info@scegliauto.com - Privacy policy VAT number: IT01247470535 |
