
|
Do it yourself
| |||
| ||||


Replacing Cabin Air Filter
Model: Suzuki Swift
MK 3
- Years 1994-2004
The cabin air filter is located on the passenger side, behind the glove compartment: to access the filter location, open the glove compartment and press the sides of the glove compartment to retract the stops and fully swing down the door; once you reach the air duct, unclip the side tabs that secure the cover and remove the cabin air filter, clean any dirt residue inside the housing, and install a new one (activated carbon filters are recommended).
Updated on 17 February 2026 by ScegliAuto
Video tutorial
Related tutorials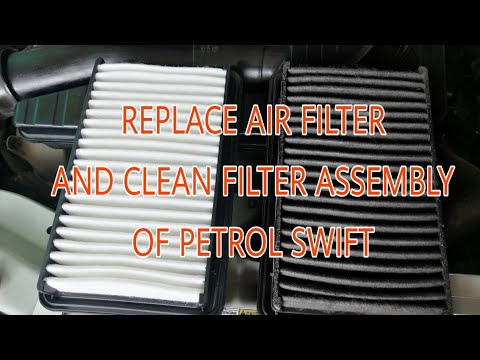
Suzuki Swift
(2004-2010 /
MK 4, Rs41)
How to remove the air filter from a Suzuki Swift? Let's see the removal and replacement procedure. Lift the front bonnet to access the area where the…

Suzuki Swift
(2004-2010 /
MK 4, Rs41)
The quality of the air breathed inside the cabin while using the air conditioning of your Suzuki Swift is guaranteed by the proper functioning of the…
Suzuki Swift
(2004-2010 /
MK 4, Rs41)
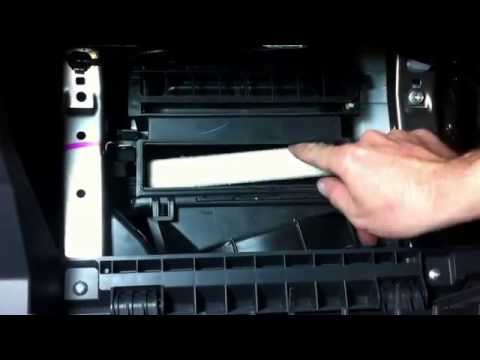
The cabin air filter is located on the passenger side, behind the glove compartment: to access the filter housing, open the glove compartment door an…
Other guides you may be interested in
|
How to Check the Oil Level on a Jeep Renegade?
To check the oil level on a Jeep Renegade, you need to open the bonnet to access the components inside the engine bay: on the lower left side of the engine block, you will find the dipstick for checking the level. This should be pulled out and thoroughly cleaned with a cloth: once cleaned, reinsert it back into its tube and pull it out immediately after. This way, you can check that the oil mark is between the minimum and maximum levels; finally, you can place the dipstick back in its tube. by ScegliAuto More videos
|
|
For advertising on this site Write to info@scegliauto.com
ScegliAuto is not responsible for any inaccuracy of the data in the lists. To report any inaccuracy or your business (if you own the business in question), please write to info@scegliauto.com
Number of seconds to generate the page: 0.166
(c) ScegliAuto 2026 - info@scegliauto.com - Privacy policy VAT number: IT01247470535 |
