
|
Do it yourself
| |||
| ||||


How to replace the cabin filter of the Suzuki Swift
Model: Suzuki Swift
MK 4, Rs41
- Years 2004-2010
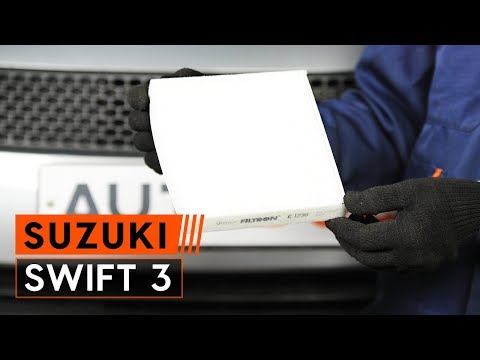
To replace the cabin filter of the Suzuki Swift, we open the door on the passenger side, open the glove compartment, remove the items inside, push the right end first, then the left end towards the center so that the tabs come out of the tracks; once the drawer is detached from the tracks, we find the door that hides the cabin filter, unhook the right tab and then unhook the left one to remove the door; once the door is removed, we can proceed to remove the cabin filter; once the cabin filter is removed, we take the new filter, insert it into its seat in the same way as the old filter, then reposition the door starting from the left tab, then snap the right tab in place; once the door is inserted, we lift the glove compartment, put the tabs back inside the tracks so that the compartment remains open; finally, we put the items back inside and close the glove compartment.
Posted on 24 June 2024 by ScegliAuto
Video tutorial
Related tutorials
Suzuki Swift
(2010-2017 /
Rs41, AZG, MK 5)
To replace the cabin filter in a Suzuki Swift, open the glove compartment located on the passenger side by releasing the internal retaining clips. Th…
Suzuki Swift
(2004-2010 /
MK 4, Rs41)
Open the glove compartment and unclip the drawer inside the dashboard using a plastic lever (use a screwdriver if there are screws). Once this is don…

Suzuki Swift
(2004-2010 /
MK 4, Rs41)
If you own a Suzuki Swift and are wondering how you can replace the cabin air filter yourself, then all you have to do is read the following guide an…
Other guides you may be interested in
|
How to set the clock on the Opel Zafira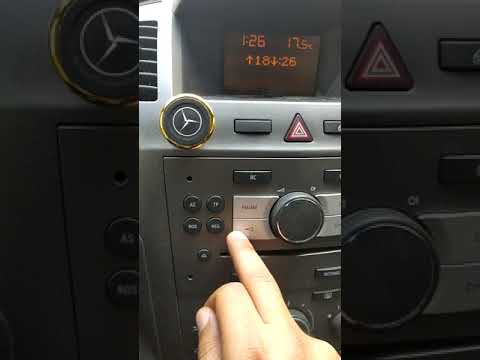
Setting the clock to the current Italian time on an Opel Zafira model B vehicle is a very simple operation, which can also be done independently thanks to our short instructional video. The first thing to do is to turn on the instrument panel and then press the SETTING button, located on the central dashboard. Once inside the menu, use the buttons to navigate to the clock setting. Change the hours and minutes and restart the instrument panel. If the clock is not updated, a diagnosis may be necessary at the radio or vehicle control unit. by ScegliAuto More videos
|
|
For advertising on this site Write to info@scegliauto.com
ScegliAuto is not responsible for any inaccuracy of the data in the lists. To report any inaccuracy or your business (if you own the business in question), please write to info@scegliauto.com
Number of seconds to generate the page: 0.074
(c) ScegliAuto 2026 - info@scegliauto.com - Privacy policy VAT number: IT01247470535 |
