
|
Do it yourself
| |||
| ||||


How to Replace the Rear Brake Drums and Brake Pads on a Toyota Yaris XP10
Model: Toyota Yaris
Xp10
- Years 1999-2005
To replace the brake drums on a Toyota Yaris XP10, first lift the vehicle (professionally lifted here, but you can use two axle stands). Remove the rear wheels and then take off the lower spring holding the drum with pliers. Using the same pliers, remove the spring bolts. Now the drum is free and can be removed. Carefully slide off the flexible hose. On the bench, disassemble the drum into two pieces, and use a screwdriver to remove the washer that secures the brake support. Reattach it to the new one, and do the same with the other half. Now reattach the spring, apply copper grease to the end for better grip, and place it back in its housing, tensioning the spring in place. Use pliers to also reattach the vertical spring. Clean the contact surfaces with a wire brush before positioning the new part. Again, apply copper grease to the contact points to prevent brake squeal. Reconnect the flexible hose, using pliers for assistance, then place the brake assembly onto the hub. Reinsert the spring bolts and reattach the lower spring. Brush the hub and spray it with copper grease. You can then replace the hubcap and wheel, and repeat the process on the other side.
Updated on 12 August 2026 by ScegliAuto
Video tutorial
Related tutorials
Toyota Yaris
(1999-2005 /
Xp10)
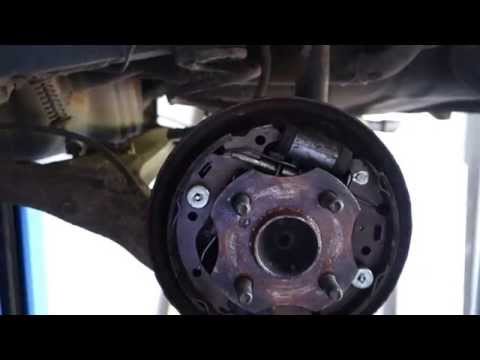
In today's tutorial video, you will see how to remove and replace the rear brake shoes on the Toyota Yaris by following these simple steps. First, li…
Toyota Yaris
(1999-2005 /
Xp10)
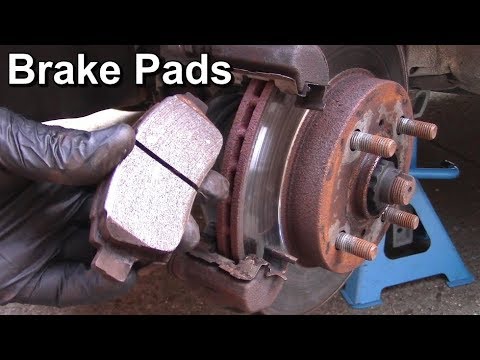
In today's video tutorial, you will learn how to replace the front brake pads on a first-generation Toyota Yaris. First, lift the vehicle and remove …
Toyota Yaris
(1999-2005 /
Xp10)
Replacing drum brake shoes is an essential task, especially after covering thousands of miles. Installing new brake shoes is not difficult or tiring;…
Other guides you may be interested in
|
Frequently Asked QuestionsHow to Set the Clock on the Opel Zafira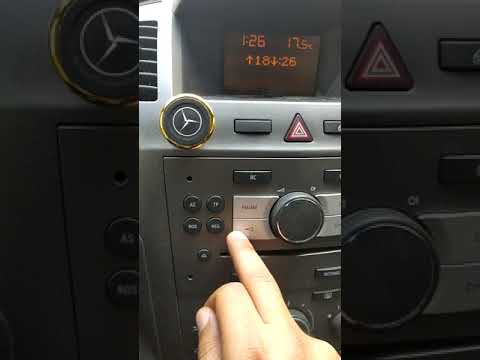
Setting the clock to the current Italian time on an Opel Zafira model B is a very simple operation, also made easier by our short instructional video. The first step is to turn on the instrument panel and then press the SETTING button located on the central dashboard. Once inside the menu, use the buttons to navigate to the clock setting. Adjust the hours and minutes and restart the instrument panel. If the clock does not update, it may be necessary to diagnose the radio or the vehicle's control unit. by ScegliAuto More videos
|
|
For advertising on this site Write to info@scegliauto.com
ScegliAuto is not responsible for any inaccuracy of the data in the lists. To report any inaccuracy or your business (if you own the business in question), please write to info@scegliauto.com
Number of seconds to generate the page: 0.648
(c) ScegliAuto 2026 - info@scegliauto.com - Privacy policy VAT number: IT01247470535 |
