
|
Do it yourself
| |||
| ||||


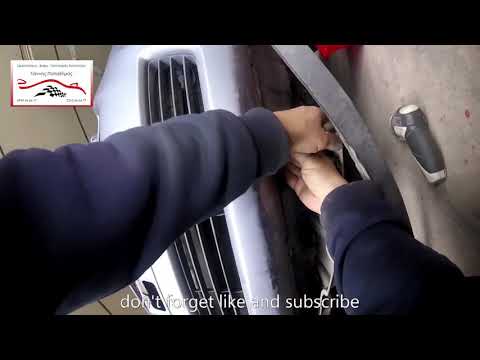
How to remove the front light of the Toyota Yaris
Model: Toyota Yaris
Xp10
- Years 1999-2005 The disassembly of the front light is not particularly complicated, however it is also necessary to remove the bumper since the lower part of the light is placed squarely with respect to the bumper; therefore open the front hood and unscrew the two pins that secure the two plastic ribs of the headlight; then move on to the disassembly of the bumper by extracting the pressure lock placed in the central position under the locks, then move on to the fixing screws under the mudguard and those present under the edge of the bumper itself; then move the bumper far enough to be able to unhook the headlight and extract it from its seat by disconnecting the relative sockets.
Posted on 11 September 2023 by ScegliAuto
 How to remove the front bumper of a Toyota Yaris
Toyota Yaris (2005-2011 / Xp90) Before we begin, we will have to go and open the front hood of our Toyota Yaris. So let's start by unscrewing and removing the screws that secure the  How to remove the front bumper of a Toyota Yaris
Toyota Yaris (2011-2019 / Xp130) Let's start by opening the front hood of our Toyota Yaris, by pulling the opening handle located at the bottom left of the steering column. After tha 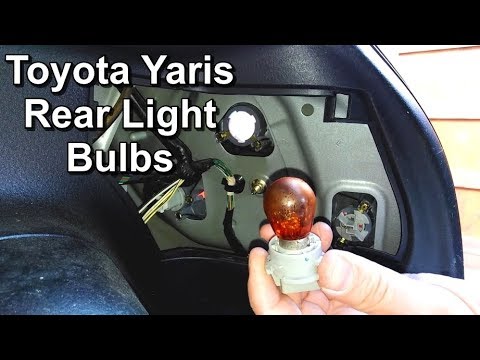 How to remove the rear light bulb of a Toyota Yaris
Toyota Yaris (1999-2005 / Xp10) Before we can start, we will have to go and open the tailgate of our Toyota Yaris. So let's start by unhooking the clips that secure the internal cov Other guides that may interest you
|
How to deactivate the safe lock on a Volkswagen Golf.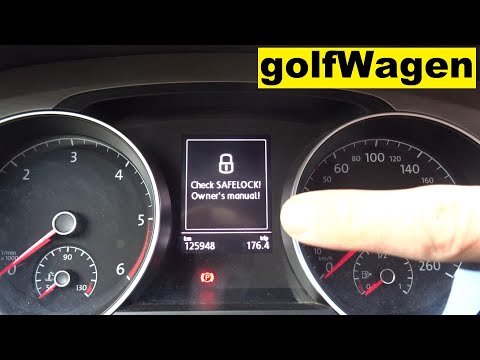
The safe lock is indeed an anti-theft system that prevents thieves from accessing the car. This device locks the doors, both externally and internally, when the driver activates the central locking remote control after leaving the vehicle. To permanently disable it, it is necessary to use a diagnostic program such as VCDS that we will connect to the vehicle through the ODBII port. Then wait for the connection and recognition of the control unit and then select the blocks present and locate the safe lock to disable it. And the job will be completed. by ScegliAuto More videos
|
|
For advertising on this site Write to info@scegliauto.com
ScegliAuto is not responsible for any inaccuracy of the data in the lists. To report any inaccuracy or your business (if you own the business in question), please write to info@scegliauto.com
Number of seconds to generate the page: 0.078
(c) ScegliAuto 2024 - info@scegliauto.com - Privacy Policy VAT number: IT01247470535 |