
|
Do it yourself
| |||
| ||||


How to replace the gas springs on a Toyota Aygo AB10
Model: Toyota Aygo
MK 1, Ab10
- Years 2005-2014
In this video, we see how to replace the gas springs of the rear hatch on a Toyota Aygo AB10 version: before starting, we need to support the rear hood with a hydraulic jack or similar tool, to prevent the hood from falling on our heads when removing the old springs. Then, we remove the shelf inside the trunk. We unscrew the fixing screw of the side lining of the hood, and unhook the elastic ring that connects the gas support strut to the body of the car; we remove both support struts. We can find the parts, for example, on Amazon with the code B0CRS21WNB at a price of 47.99 euros, with free delivery. We snap the elastic ring located at the top for reassembly and screw the fixing element of the side lining of the hood. We can reassemble the shelf and remove the central support that was used to keep the hatch raised. The job is done.
Posted on 20 July 2024 by ScegliAuto
Video tutorial
Related tutorials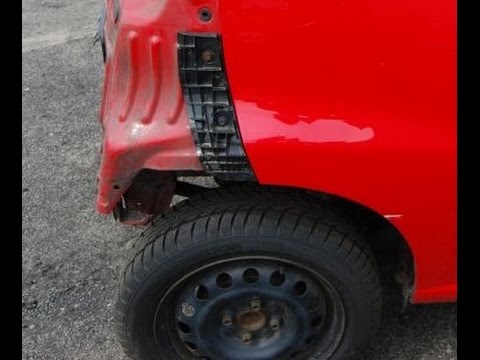
Toyota Aygo
(2005-2014 /
MK 1, Ab10)
Hello, today's goal is to remove the rear bumper from our Toyota Aygo. Start by lifting the car with the jack. Next, carefully search for and remove …
Toyota Aygo
(2005-2014 /
MK 1, Ab10)
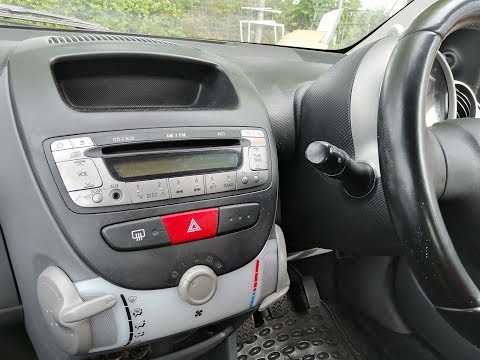
How do you remove the radio from your Aygo? Let's look at the removal of the radio and the installation of the new one in the Toyota Aygo. Remove the…

Toyota Aygo
(2005-2014 /
MK 1, Ab10)
Before you can start, open the front bonnet of your Toyota Aygo. Begin by loosening the metal clip that secures the air filter housing hose, then dis…
Other guides you may be interested in
|
Frequently Asked QuestionsHow to Connect the Cables to the Battery of the Citroen Xsara Picasso?
In this tutorial, you will see how to connect the cables to the battery of the Citroen Xsara Picasso, useful if you need to recharge it or perform an emergency start. First, ensure the key is not inserted, then open the bonnet and move to the front of the left headlamp. Next, locate the bolt just behind the filter box and connect the positive terminal clamp to it. Now you can connect the negative terminal to any point on the chassis, such as the indicated point. Once the operation is complete, ensure you disconnect the negative first and then the positive. by ScegliAuto More videos
|

|
For advertising on this site Write to info@scegliauto.com
ScegliAuto is not responsible for any inaccuracy of the data in the lists. To report any inaccuracy or your business (if you own the business in question), please write to info@scegliauto.com
Number of seconds to generate the page: 0.152
(c) ScegliAuto 2026 - info@scegliauto.com - Privacy policy VAT number: IT01247470535 |
