
|
Do it yourself
| |||
| ||||


Toyota Urban Cruiser - Video guides Toyota Urban Cruiser (2009-2014 / MK 1)
How to DIY Replace the Rear Shock Absorbers on the Toyota Urban Cruiser On the Toyota Urban Cruiser, the rear shock absorbers operate separately from the springs on the torsion beam. Secure the Toyota Urban Cruiser on axle stands, …Read all… Posted on 24 June 2026 by ScegliAuto  Toyota Urban Cruiser (2009-2014 / MK 1)
Location and Diagram of the Fuse Boxes in the Toyota Ist In this video, see the location and diagram of the fuse box in the Toyota Ist, known in the European market as the Urban Cruiser. In left-hand drive vehicles, …Read all… Posted on 9 June 2026 by ScegliAuto  Toyota Urban Cruiser (2009-2014 / MK 1)
How do you turn off the traction control of the Toyota Urban Cruiser? It will be possible to deactivate the traction control of the Toyota Urban Cruiser by first inserting the ignition key into the corresponding slot, in order to …Read all… Posted on 13 July 2025 by ScegliAuto  Toyota Urban Cruiser (2009-2014 / MK 1)
How to reset the service light on the Toyota Urban Cruiser Performing the reset of the service light, related to the car service, on the Toyota Urban Cruiser is a simple and quick operation to be carried out …Read all… Posted on 20 March 2025 by ScegliAuto  Toyota Urban Cruiser (2009-2014 / MK 1)
Deactivation of the Toyota Urban Cruise VSC The Toyota Urban Cruise has, among its equipment, the VSC system, acronym for Vehicle Stability Control, which is used to prevent skidding and unwanted slips …Read all… Posted on 14 March 2025 by ScegliAuto  Toyota Urban Cruiser (2009-2014 / MK 1)
How to reset the service light on the Toyota Urban Cruiser? In this tutorial we can see how to reset the service in the Toyota Urban Cruiser, an extremely simple and quick operation, to be carried out only once all the …Read all… Posted on 9 October 2024 by ScegliAuto 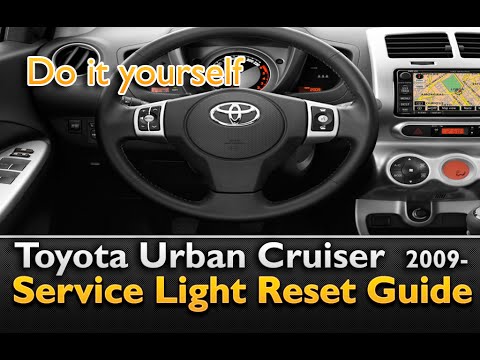 Toyota Urban Cruiser (2009-2014 / MK 1)
How to Reset the Service Light of the Toyota Urban Cruiser? To reset the Service light of the Toyota Urban Cruiser, turn on the instrument panel and then repeatedly press the ODO TRIP button until "Trip A" appears on …Read all… Posted on 23 July 2026 by ScegliAuto 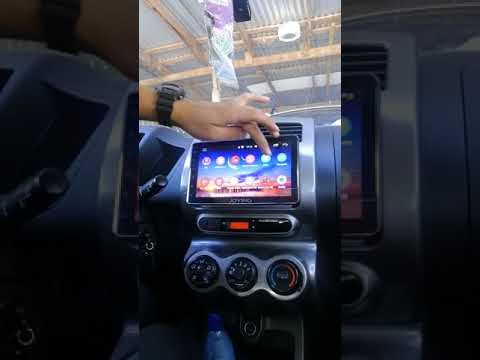 Toyota Urban Cruiser (2009-2014 / MK 1)
Guide to Replacing the Radio in the Toyota Urban Cruiser In today's video, you will see the main steps to remove and replace the standard radio with a new multimedia system in the Toyota Urban Cruiser. First, get …Read all… Posted on 15 July 2026 by ScegliAuto  Toyota Urban Cruiser (2009-2014 / MK 1)
Replacing the Air Filter on the Toyota Urban Cruiser Lift the bonnet and secure it. As clearly shown at the beginning of the video, disconnect the connector related to the filter box. Now unclip the attachments …Read all… Posted on 31 May 2026 by ScegliAuto  Toyota Urban Cruiser (2009-2014 / MK 1)
How to Reset the Maintenance Service on a Toyota Urban Cruiser Learn how to reset the maintenance service on a Toyota Urban Cruiser. Turn on the instrument panel of your car with the appropriate remote key; press the …Read all… Posted on 28 March 2026 by ScegliAuto  Toyota Urban Cruiser (2009-2014 / MK 1)
Fitting an Additional Chip Tuning Control Unit To improve the performance of the diesel engine, you can install this control unit. First, obtain the kit for your vehicle. Remove the engine protection cover …Read all… Posted on 5 February 2026 by ScegliAuto
Shocks (1)
Car stereo (1)
Checks and maintenance (2)
Air filter (1)
Accessory kit (1)
Fuse box (1)
Warning light – error code (1)
Service warning light (3)
|
See also:
How to Connect the Cables to the Battery of the Citroen Xsara Picasso?
In this tutorial, you will see how to connect the cables to the battery of the Citroen Xsara Picasso, useful if you need to recharge it or perform an emergency start. First, ensure the key is not inserted, then open the bonnet and move to the front of the left headlamp. Next, locate the bolt just behind the filter box and connect the positive terminal clamp to it. Now you can connect the negative terminal to any point on the chassis, such as the indicated point. Once the operation is complete, ensure you disconnect the negative first and then the positive. by ScegliAuto More videos
|
|
For advertising on this site Write to info@scegliauto.com
ScegliAuto is not responsible for any inaccuracy of the data in the lists. To report any inaccuracy or your business (if you own the business in question), please write to info@scegliauto.com
Number of seconds to generate the page: 0.008
(c) ScegliAuto 2026 - info@scegliauto.com - Privacy policy VAT number: IT01247470535 |
