
|
Do it yourself
| |||
| ||||



How to DIY Replace the Rear Shock Absorbers on the Toyota Urban Cruiser
Model: Toyota Urban Cruiser
MK 1
- Years:
2009, 2010, 2011, 2012, 2013, 2014
Video tutorial
On the Toyota Urban Cruiser, the rear shock absorbers operate separately from the springs on the torsion beam. Secure the Toyota Urban Cruiser on axle stands, loosen the wheel bolts, and remove the affected rear wheel. Support the beam arm with a jack to relieve load from the shock absorber. Loosen and remove the lower bolt securing the shock absorber to the arm, then unscrew the upper fastening (usually under the wheel arch, sometimes behind a small cover). Extract the worn shock absorber, compare the length and fittings with the new one, and install the replacement in reverse order. Torque the fasteners to the manufacturer's specified settings, with the beam loaded (vehicle at wheel height) to avoid stressing the bushes. Repeat on the opposite side: it's good practice to replace rear suspension components in pairs. Finish by refitting the wheel, lowering the car from the axle stands, and conducting a road test to check for noises and alignment; also check the tracking if you notice any handling changes.
Posted on 24 June 2026 by ScegliAuto
Related tutorials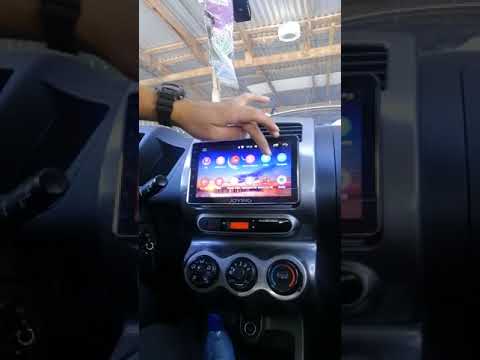
Toyota Urban Cruiser
(2009-2014 /
MK 1)
In today's video, you will see the main steps to remove and replace the standard radio with a new multimedia system in the Toyota Urban Cruiser. Firs…

Toyota Urban Cruiser
(2009-2014 /
MK 1)
In this tutorial, you will see how to reset the service light in a Toyota Urban Cruiser, a very simple and quick operation to perform only after comp…

Toyota Urban Cruiser
(2009-2014 /
MK 1)
It will be possible to deactivate the traction control of the Toyota Urban Cruiser by first inserting the ignition key into the corresponding slot, i…
Other guides you may be interested in
|
How to Open the Bonnet on the Mitsubishi L200?
In this tutorial, you will see how to open the bonnet on the Mitsubishi L200, a very simple operation that follows the standard procedure. First, open the vehicle and go to the driver's side, then locate the lever at the lower outer area, just in front of the pedals, and pull it. Next, position yourself in front of the bonnet, locate the second lever above the Mitsubishi logo, and push it to the right, releasing the latch. At this point, you can fully lift the bonnet and secure it with the prop rod. by ScegliAuto More videos
|
|
For advertising on this site Write to info@scegliauto.com
ScegliAuto is not responsible for any inaccuracy of the data in the lists. To report any inaccuracy or your business (if you own the business in question), please write to info@scegliauto.com
Number of seconds to generate the page: 0.017
(c) ScegliAuto 2026 - info@scegliauto.com - Privacy policy VAT number: IT01247470535 |
