
|
Do it yourself
| |||
| ||||


(Various brands) Various - Video tutorial
Model: (Various brands) Various
Are the reading light bulbs damaged? Let's see how the spotlights are removed and how the bulbs are replaced. We lower the sun visor, pry between the ceiling light and the sky panel (without breaking anything), take the ceiling light out of the panel and disconnect the power supply terminal. We replace the damaged bulb inside the spotlight with a new one (same size and voltage). Reassemble the ceiling light in its housing (push the light with your hands until the tabs in the lateral plastic are completely locked). We replace the bulbs of the other spotlight, under the other sun visor.
Posted on 23 January 2024 by ScegliAuto
 How do you replace the sun visor?
(Various brands) Various In order to replace the car's sun visor, you need to detach the internal connection of the visor so that it is released from its internal part; once 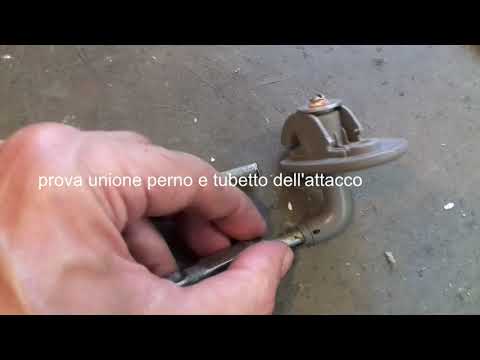 Removing the roof sun visor
(Various brands) Various To remove the sun visor on practically all cars, it is necessary to proceed as follows: open the door on the side of the car on which it is necessary  How to replace the sun visor
(Various brands) Various This really simple and quick operation that allows you to save time and money by avoiding keeping your car from some workshop to carry out the work, Other guides that may interest you
|
Frequently Asked QuestionsHow do I replace the Land Rover Evoque auxiliary battery?
In order to replace the auxiliary battery of the Land Rover Evoque, it is necessary to go inside the passenger compartment and remove the panel which is positioned immediately under the glovebox. Once the screws that secure this panel have been loosened, it will be possible to access the components located in its rear part, including the auxiliary battery. The latter must be disconnected from its cables and the fixing screws must be loosened. The battery can then be replaced with a new one and the panel can be fixed again with its screws. by ScegliAuto More videos
|
|
For advertising on this site Write to info@scegliauto.com
ScegliAuto is not responsible for any inaccuracy of the data in the lists. To report any inaccuracy or your business (if you own the business in question), please write to info@scegliauto.com
Number of seconds to generate the page: 0.076
(c) ScegliAuto 2024 - info@scegliauto.com - Privacy Policy VAT number: IT01247470535 |