
|
Do it yourself
| |||
| ||||


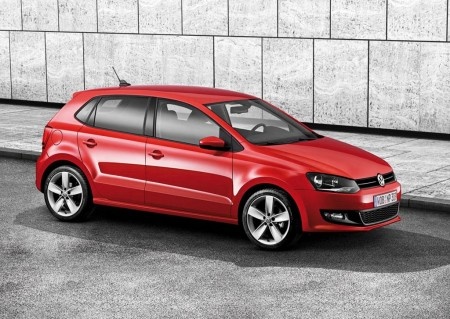
How do you replace the fuel door of the Volkswagen Polo?
Model: Volkswagen Polo
6R, MK V, Polo 5, Polo V, MK 5
- Years:
2009, 2010, 2011, 2012, 2013, 2014, 2015, 2016, 2017
Video tutorial
To replace the fuel door of the Volkswagen Polo, you will first need to open it to access its internal part: here you will find the access cap to the tank that will need to be unscrewed and completely removed. After removing the cap, you can loosen the screws that secure the door from its internal part so that it can be completely detached. Once the removal has taken place, you can position the new replacement piece: this can now be fixed with the screws to ensure that everything is functioning properly.
Posted on 29 September 2025 by ScegliAuto
Related tutorials
Volkswagen Polo
(2009-2017 /
6R, MK V, Polo 5, Polo V, MK 5)
Today’s guide will show you how to remove and replace the stuck fuel flap on the Volkswagen Polo. First, open the fuel flap; it can be opened from th…

Volkswagen Polo
(2009-2017 /
6R, MK V, Polo 5, Polo V, MK 5)
In this video tutorial, we will see how to open the fuel cap and flap on the Volkswagen Polo 6R, fifth series, by following these simple steps. First…

Volkswagen Polo
(2009-2017 /
6R, MK V, Polo 5, Polo V, MK 5)
Today we will explain how to open the fuel door and consequently the fuel cap of the Volkswagen Polo car. To open the fuel door, it is necessary to u…
Other guides you may be interested in |
How to Replace the Glow Plugs in the Fiat Ducato 2.3 Multijet?
Glow plugs, as the name suggests, raise the temperature of the engine in diesel vehicles to allow for easier starting. The manufacturer, in this case, Fiat for the Ducato 2.3 Multijet, specifies how often they should be replaced, and a warning light will illuminate when it's time. This work is carried out under the bonnet. First, remove the upper engine cover, then lift the coil and, using a socket wrench of the appropriate size, unscrew the glow plug to remove it from the base, followed by installing the new one. by ScegliAuto More videos
|
|
For advertising on this site Write to info@scegliauto.com
ScegliAuto is not responsible for any inaccuracy of the data in the lists. To report any inaccuracy or your business (if you own the business in question), please write to info@scegliauto.com
Number of seconds to generate the page: 0.012
(c) ScegliAuto 2026 - info@scegliauto.com - Privacy policy VAT number: IT01247470535 |
