
|
Do it yourself
| |||
| ||||


How to Weld the Stabilizers on a Volkswagen Transporter T1 (Bulli)
Model: Volkswagen Transporter
T1, MK 1
- Years 1950-1967
First, let's clarify what a "Bulli" is. It is not a specific model but a term of endearment that identifies iconic Volkswagen commercial vehicles, particularly the Transporter, especially the T1 in the video, produced from 1950 to 1967, with its characteristic rounded front and split windscreen. Welding the chassis is a critical operation and must be performed professionally. It should be done with appropriate equipment and protection. The original supports are often fixed to the chassis with spot-welded tabs, which can weaken over time, causing the stabilizers to fail and resulting in unstable handling in corners. Lift the vehicle, remove the stabilizer bar, and thoroughly clean the work area on the chassis of rust and damaged paint, cutting off the original tabs. Reposition the stabilizer support in its correct location, possibly using clamps. The recommended welding technique is arc welding, using carbon steel electrodes or wire, performing continuous stringer welds rather than spot welds; then grind the welds with a grinder and apply an anti-rust primer. For an experienced welder, this is not a complex operation, but if you are just a hobbyist, it is advisable to seek the help of a professional.
Posted on 16 May 2026 by ScegliAuto
Video tutorial
Related tutorials
Volkswagen Transporter
(2003-2014 /
T5, MK 5)
Let’s discover the main information that will allow us to dismantle and replace the floor carpet in the Volkswagen Transporter. First, open the vehic…
Volkswagen Transporter
(2014-2025 /
MK 6, T6)
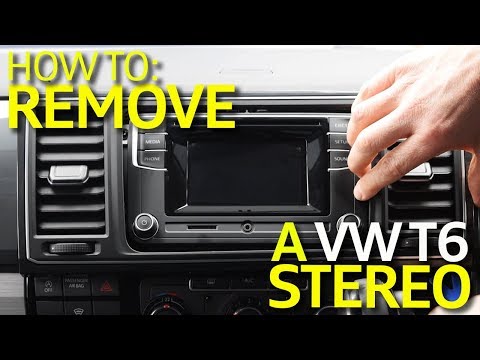
To remove the radio from the Volkswagen Transporter T6, simply follow the instructions in the video and those outlined here. 1) Ensure you have all t…

Volkswagen Transporter
(2003-2014 /
T5, MK 5)
Below we will see the instructions that will allow us to disassemble and replace the windshield nozzles of the Volkswagen Transporter. First, we open…
Other guides you may be interested in
|
How to Replace the External Wing Mirror on a Ford C MAX
In the event of a breakage, it will be necessary to replace the external wing mirror on the 2011 Ford C MAX. This operation is easily performed independently. Start by removing the internal cover of the mirror with a plastic lever. Then, use a socket wrench to remove the securing pins. Once the pins are removed, you can take off the mirror, but not before disconnecting the power connectors. Then proceed to fit the new mirror. First, connect the connectors and then secure the mirror to its housing with the pins. Refit the plastic cover and test the operation of the electric mirror using the controls. by ScegliAuto More videos
|
|
For advertising on this site Write to info@scegliauto.com
ScegliAuto is not responsible for any inaccuracy of the data in the lists. To report any inaccuracy or your business (if you own the business in question), please write to info@scegliauto.com
Number of seconds to generate the page: 0.117
(c) ScegliAuto 2026 - info@scegliauto.com - Privacy policy VAT number: IT01247470535 |
