
|
Do it yourself
| |||
| ||||


How to Replace the Rear Shock Absorber Mount on the Volkswagen Polo MK4
Model: Volkswagen Polo
Polo IV, MK IV, Polo 4, MK 4, 9N
- Years:
2001, 2002, 2003, 2004, 2005, 2006, 2007, 2008, 2009
Video tutorial
To replace the rear shock absorber mount on a Volkswagen Polo MK4, you will need 16 mm socket and combination spanners, a torque wrench, a jack, axle stands, and a shock absorber spanner. Procedure: loosen the bolts of the rear wheel, lift the car and remove it. Support the trailing arm with the jack. Using the 16 mm socket and combination spanner, unscrew the nut and bolt of the lower shock absorber attachment. With the 16 mm socket, unscrew the two upper fixing bolts and remove the shock absorber. Secure it in a vice, unscrew the upper nut of the piston rod with the specific spanner to hold the rod steady, and remove the old mount, protection, and bump stop. Install the new mount, gaiter, and bump stop. Refit the shock absorber in the arch, tighten the upper bolts to 55 Nm and the lower bolt to 75 Nm (the latter with the car on the ground). Refit the wheel. The upper nut of the rod should be tightened to 42-45 Nm. Always replace both mounts at the same time: they can be found on eBay with code 202679204737 for £34.90 per pair.
Posted on 3 October 2026 by ScegliAuto
Related tutorials
Volkswagen Polo
(2001-2009 /
Polo IV, MK IV, Polo 4, MK 4, 9N)
The procedure for removing the rear seats of the Volkswagen Polo involves prising up the front of the seats so that the underlying fastening clips ca…

Volkswagen Polo
(2001-2009 /
Polo IV, MK IV, Polo 4, MK 4, 9N)
In this tutorial, you will see how to replace the rear light bulbs in a Volkswagen Polo, a very simple and quick operation. First, ensure that the ke…

Volkswagen Polo
(2001-2009 /
Polo IV, MK IV, Polo 4, MK 4, 9N)
In this tutorial, you will see how to replace the rear light bulbs on the Volkswagen Polo, a very simple and quick operation. First, ensure the key i…
ScegliAuto offers an extensive international collection of automotive tutorials available in 12 languages. Each guide combines instructional videos with original explanations written by experienced human editors, along with information about the car models covered.
Other guides you may be interested in
|
How to Reset the Tyre Pressure Light on the Hyundai i20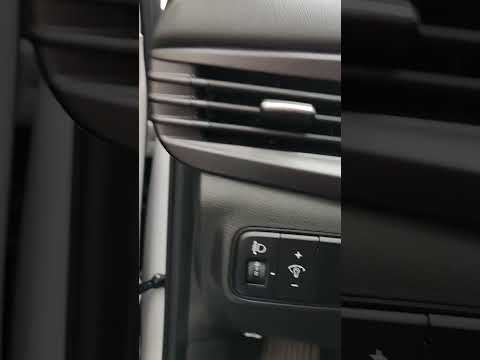
These brief instructions will show you how to reset the tyre pressure monitoring system (TPMS) light on the Hyundai i20. Before performing the reset, ensure that all four tyres are at the correct operating pressure. Then, get inside the cabin and turn on the ignition. Now, press and hold the TPMS reset button located on the left side of the driver's seat until the tyre pressure light resets on the instrument panel, as shown in the video. At this point, turn off the ignition and start the engine to complete the process! by ScegliAuto More videos
|
|
For advertising on this site Write to info@scegliauto.com
ScegliAuto is not responsible for any inaccuracy of the data in the lists. To report any inaccuracy or your business (if you own the business in question), please write to info@scegliauto.com
Number of seconds to generate the page: 0.022
(c) ScegliAuto 2026 - info@scegliauto.com - Privacy policy - About us VAT number: IT01247470535 |
