
|
Do it yourself
| |||
| ||||


How to Remove and Replace the Interior Lights of the Volkswagen Golf Mk6
Model: Volkswagen Golf
MK 6, Golf VI, Golf 6, 5K1
- Years 2008-2012
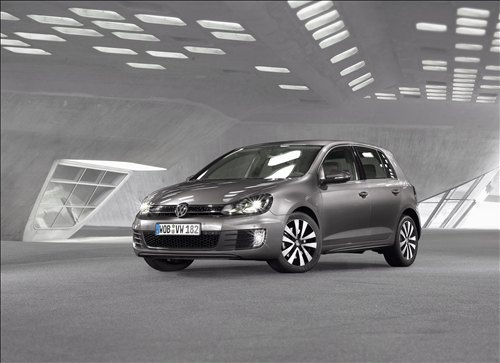
This guide shows how to remove and replace the bulbs of the interior lights of the Volkswagen Golf Mk6. It is advisable to use plastic trim tools for this operation. Start with the light fitting above the gear lever; use the tool to pry at the edge of the protective glass. Using a bulb pliers or a pair of needle-nose pliers with tape on the tip, detach the two bulbs from their respective sockets. Insert the new bulbs into position. Check the operation of the bulbs and refit the protective glass. For the service lights near the sun visors, detach the light fittings using the tool and disconnect the connector. Remove the old bulb and replace it with a new one; refit the bulb holder. For the light fitting above the rear passenger seats, you can also detach the piece using a plastic trim tool. Remove the old bulbs and replace them with new ones. For the replacement of the bulb in the boot, the operation is very similar to the light fitting under the sun visor. For the footwell lights, it is necessary to remove the bulb holder and detach the metal clip from the back.
Updated on 26 April 2026 by ScegliAuto
Video tutorial
Related tutorials
Volkswagen Golf
(2008-2012 /
MK 6, Golf VI, Golf 6, 5K1)
The procedure for replacing the headliner on the Volkswagen Golf involves removing all components that prevent the removal of the interior ceiling li…
Volkswagen Golf
(2008-2012 /
MK 6, Golf VI, Golf 6, 5K1)
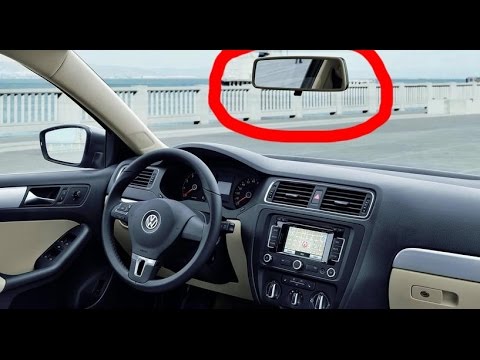
To replace the interior rear view mirror on a Volkswagen Golf, grasp the piece so that it can be rotated counterclockwise. By doing this, you will fr…
Volkswagen Golf
(1997-2003 /
Golf IV, MK 4, Golf 4)
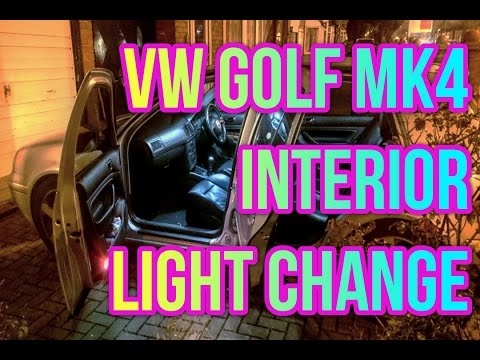
To replace the interior light bulbs of the Volkswagen Golf, use a tool like a screwdriver to pry open the corresponding light fixture: this will allo…
Other guides you may be interested in
|
How to Reset the Tyre Pressure Light on the Opel Grandland X
While driving, if you notice the tyre pressure warning light coming on, first check the actual inflation pressure of the tyres and, if necessary, restore the pressures recommended by the manufacturer. After restoring the correct pressures, you need to reset the warning light that has illuminated on the instrument cluster. To do this, locate the reset button on the lower central console. Press this button and hold it down for at least 3 seconds, after which the low pressure indication will turn off. by ScegliAuto More videos
|
|
For advertising on this site Write to info@scegliauto.com
ScegliAuto is not responsible for any inaccuracy of the data in the lists. To report any inaccuracy or your business (if you own the business in question), please write to info@scegliauto.com
Number of seconds to generate the page: 0.094
(c) ScegliAuto 2026 - info@scegliauto.com - Privacy policy VAT number: IT01247470535 |
