
|
Do it yourself
| |||
| ||||


Where is the OBD port located in the Volkswagen Transporter van?
Model: Volkswagen Transporter
MK 6, T6
- Years 2014-2025
In this video we can see where the diagnostic port is located in the Volkswagen Transporter van, useful in case we need to check the errors recorded by the control unit. As shown, the port in question, also known as the "OBD" port, is located inside the cockpit, specifically in the lower area of the dashboard on the driver's side. It is recognizable by its pink color. Before connecting the appropriate scanner, make sure that the various connections are in good condition and that the key is not inserted, so as not to cause any damage to the control unit.
Posted on 5 July 2024 by ScegliAuto
Video tutorial
Related tutorials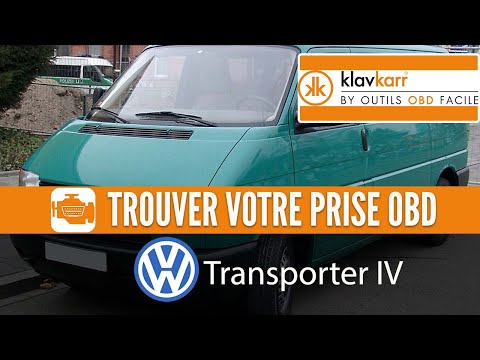
Volkswagen Transporter
(1990-2003 /
T4, MK 4)
Knowing the exact location of the OBD port on your Volkswagen Transporter Mk4 (1990-2003) is very important as it allows you to easily and quickly co…
Volkswagen Transporter
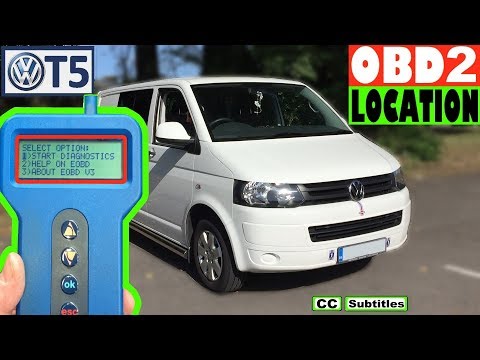
(2003-2014 /
T5, MK 5)
If you do not yet know where the OBD port of your Volkswagen Transporter T5 is located, do not worry because in this mini guide you will find all the…
Volkswagen Transporter
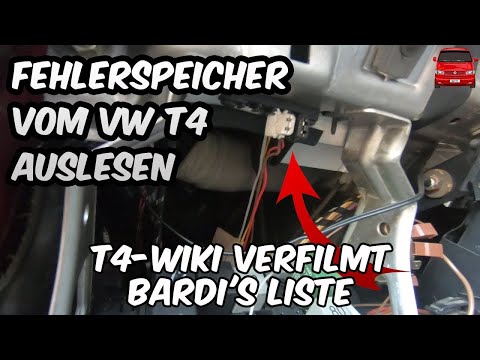
(1990-2003 /
T4, MK 4)
This video shows where the OBD port is located in the Volkswagen Transporter T4 van, useful for checking error codes recorded by the ECU. As shown, t…
Other guides you may be interested in
|
How to Connect the Cables to the Battery of the Citroen Xsara Picasso?
In this tutorial, you will see how to connect the cables to the battery of the Citroen Xsara Picasso, useful if you need to recharge it or perform an emergency start. First, ensure the key is not inserted, then open the bonnet and move to the front of the left headlamp. Next, locate the bolt just behind the filter box and connect the positive terminal clamp to it. Now you can connect the negative terminal to any point on the chassis, such as the indicated point. Once the operation is complete, ensure you disconnect the negative first and then the positive. by ScegliAuto More videos
|
|
For advertising on this site Write to info@scegliauto.com
ScegliAuto is not responsible for any inaccuracy of the data in the lists. To report any inaccuracy or your business (if you own the business in question), please write to info@scegliauto.com
Number of seconds to generate the page: 0.137
(c) ScegliAuto 2026 - info@scegliauto.com - Privacy policy VAT number: IT01247470535 |
