
|
Do it yourself
| |||
| ||||


|
Model: Yamaha X City 250
Removing the air filter from the casing of your Yamaha X City 250 is one of the simplest and quickest tasks you can do independently without any issues. Here’s how to do it. First, ensure the engine is off and the bike is on a flat surface. Then, bend down to the casing and unscrew all the small screws present. Remove the plastic cover and you will have access to the air filter underneath. You can proceed with a simple clean or replace it. Finally, reassemble everything correctly and screw the screws back in.
Updated on 11 May 2026 by ScegliAuto
Video tutorial
Related tutorials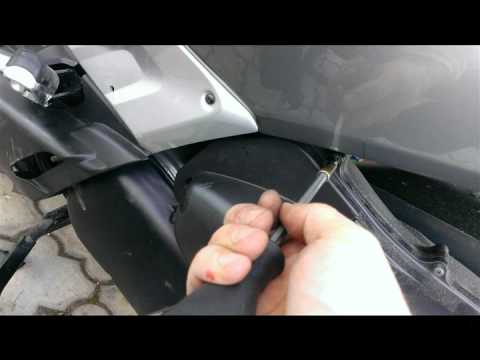
X City 250
To replace the oil on the Yamaha X-City or X-Max, you need to obtain 1.2 litres of semi-synthetic 10W40 oil, costing around £12.00 per litre. At the …

X City 250
In order to set the clock of the Yamaha X-City 250, you need to turn on the instrument panel by inserting the ignition key into the corresponding slo…
X City 250
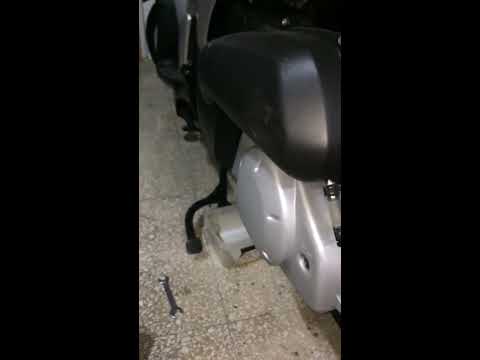
Position an oil collection tray under the oil drain. Open the oil filler cap and proceed to unscrew the drain plug as specified in the video. Once al…
|
How to Turn Off the "V-Belt" Warning Light on a Yamaha X-MAX 400 Scooter?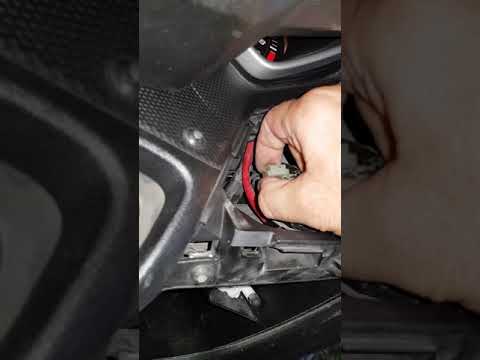
In this tutorial, learn how to turn off the "V-Belt" warning light on the Yamaha X-MAX scooter's instrument panel, a very simple and quick operation. Before doing this, ensure you have completed the required maintenance, specifically replacing the drive belt. Start by inserting the key and turning on the ignition, then open the small right glove compartment and unscrew the screw for the upper cover. Once removed, locate the white connector with a jumper attached, disconnect it, wait about 10 seconds, and reconnect it. If successful, the warning light will disappear. by ScegliAuto More videos
|
|
For advertising on this site Write to info@scegliauto.com
ScegliAuto is not responsible for any inaccuracy of the data in the lists. To report any inaccuracy or your business (if you own the business in question), please write to info@scegliauto.com
Number of seconds to generate the page: 0.008
(c) ScegliAuto 2026 - info@scegliauto.com - Privacy policy VAT number: IT01247470535 |
