
|
Do it yourself
| |||
| ||||


How to replace the headlight bulb on the Yamaha Ray ZR scooter?
Model: Yamaha Ray Zr
Video tutorial
In this tutorial, you will see how to replace the headlight bulb on the Yamaha Ray ZR scooter, a very simple and quick operation. First, ensure the key is not inserted, then unscrew the two screws located at the bottom of the front fairing and the two at the back. Next, remove the fairing itself, unscrew the two bolts just freed, and separate the headlight unit from the frame. At this point, disconnect the power connector, remove the rubber cap, and unclip the metal clip of the bulb. To install the replacement and reassemble everything, simply follow the reverse procedure.
Updated on 22 July 2026 by ScegliAuto
Related tutorials
Ray Zr
In this tutorial we can see how to replace the headlight bulb in the Yamaha Ray ZR 125 scooter, an extremely simple and quick operation. First of all…
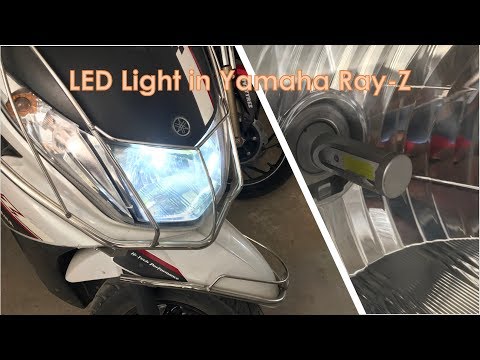
Ray Zr
In this tutorial, you will see how to replace the headlight bulbs on the Yamaha Ray ZR scooter, a very simple and quick operation. First, ensure that…

Ray Zr
In the following guide, we will discover together the steps you need to follow in order to correctly replace the brake light bulb of your Yamaha Ray …
|
How to Remove the Front Fairing on a Kawasaki Versys?
To remove the front fairing on a Kawasaki Versys, start by removing the fastening screws on the upper panel of the fairing using an appropriate spanner or screwdriver. Ensure you keep the screws in a safe place for reassembly later. Next, locate and remove any screws or bolts securing the lower side of the front fairing, typically near the windscreen or the top of the forks. Once all screws are removed, grasp the front fairing with both hands and gently lift it upwards to detach it from the mounting supports. Once the fairing is removed, you can carry out any necessary repairs or modifications. by ScegliAuto More videos
|
|
For advertising on this site Write to info@scegliauto.com
ScegliAuto is not responsible for any inaccuracy of the data in the lists. To report any inaccuracy or your business (if you own the business in question), please write to info@scegliauto.com
Number of seconds to generate the page: 0.007
(c) ScegliAuto 2026 - info@scegliauto.com - Privacy policy VAT number: IT01247470535 |
