
|
Do it yourself
| |||
| ||||


Model: Yamaha Ray Zr
In the following guide, we will discover together the steps you need to follow in order to correctly replace the brake light bulb of your Yamaha Ray Zr 125. First of all, make sure that the scooter is turned off, then lift the seat and remove the plastic protective panel located underneath it. At this point, locate the brake light bulb and remove it with your own hands. Finally, install the new bulb that is perfectly compatible with your Yamaha Ray Zr 125 and reposition the seat. Turn on the dashboard and test the operation of the new bulb.
Posted on 10 August 2025 by ScegliAuto
Video tutorial
Related tutorials
Ray Zr
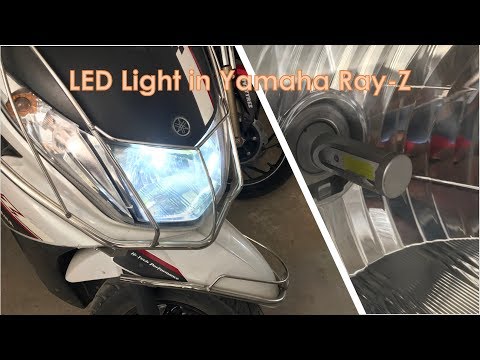
In this tutorial we can see how to replace the headlight bulb in the Yamaha Ray ZR 125 scooter, an extremely simple and quick operation. First of all…
Ray Zr
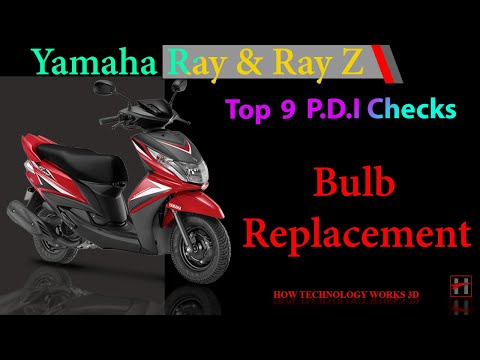
In this tutorial, you will see how to replace the headlight bulbs on the Yamaha Ray ZR scooter, a very simple and quick operation. First, ensure that…
Ray Zr
In this tutorial, you will see how to replace the headlight bulb on the Yamaha Ray ZR scooter, a very simple and quick operation. First, ensure the k…
|
How to Replace the Air Filter on a Harley Davidson Dyna?
To replace the air filter on a Harley Davidson Dyna, loosen the screws securing the cover located on the right side of the bike, just below the fuel tank. Once the cover is removed, you will locate the filter underneath: it must be removed from its housing by unscrewing the fastening screws and sliding it out from its compartment. After the old filter has been removed, position the new replacement part, securing it in place with the screws and covering everything with the cover. by ScegliAuto More videos
|
|
For advertising on this site Write to info@scegliauto.com
ScegliAuto is not responsible for any inaccuracy of the data in the lists. To report any inaccuracy or your business (if you own the business in question), please write to info@scegliauto.com
Number of seconds to generate the page: 0.006
(c) ScegliAuto 2026 - info@scegliauto.com - Privacy policy VAT number: IT01247470535 |
