
|
Do it yourself
| |||
| ||||


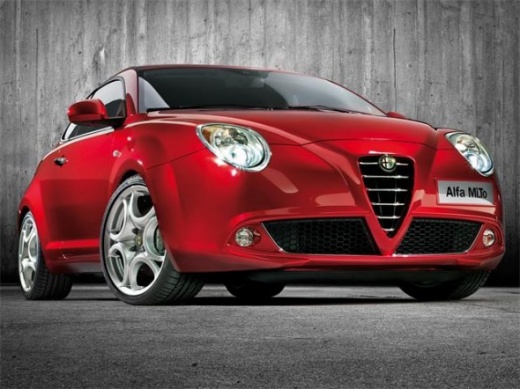
How to reset trip A and B on the dashboard of Alfa Romeo MiTo
Model: Alfa Romeo Mito
MK 1
- Years:
2008, 2009, 2010, 2011, 2012, 2013, 2014, 2015, 2016, 2017, 2018
Video tutorial
In this video, we see how to reset the A and B trip on the dashboard of the Alfa Romeo MiTo. To perform this operation, we will use the button located on the outside of the lever on the right side of the steering wheel. Through this button, it is possible to navigate within the two trips, in order to highlight the kilometers traveled, fuel consumption, average, and many other useful information. This is for trip A; continuing to click, we then reach trip B, where we will find the same information. If you want to reset one of the two trips, simply position yourself within the information related to that trip, and press the button for a few seconds. This way, the data will be reset.
Posted on 6 April 2025 by ScegliAuto
Related tutorials
Alfa Romeo Mito
(2008-2018 /
MK 1)
There is usually a dedicated fuse diagram for your Alfa Romeo Mito that allows you to identify the precise positions of the fuses. Once found, you do…
Alfa Romeo Mito
(2008-2018 /
MK 1)
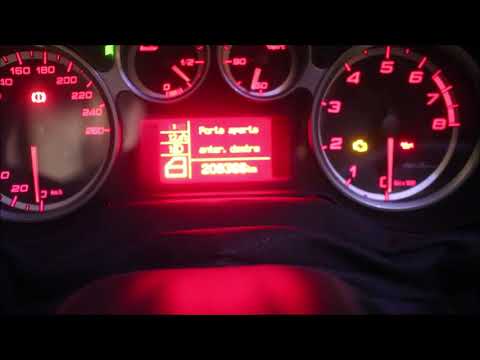
If the mileage displayed on the Alfa Romeo MiTo dashboard is flashing, it is likely that the radio fuse has blown and needs to be replaced. To access…
Alfa Romeo Mito
(2008-2018 /
MK 1)
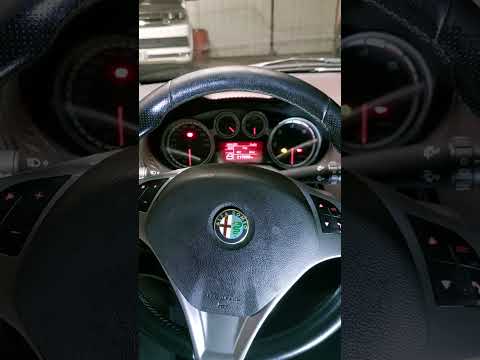
The function of the service light on the Alfa Romeo Mito is to remind the driver that the service interval has been reached and that maintenance is d…
Other guides you may be interested in
|
How to Replace the Glow Plugs in the Fiat Ducato 2.3 Multijet?
Glow plugs, as the name suggests, raise the temperature of the engine in diesel vehicles to allow for easier starting. The manufacturer, in this case, Fiat for the Ducato 2.3 Multijet, specifies how often they should be replaced, and a warning light will illuminate when it's time. This work is carried out under the bonnet. First, remove the upper engine cover, then lift the coil and, using a socket wrench of the appropriate size, unscrew the glow plug to remove it from the base, followed by installing the new one. by ScegliAuto More videos
|
|
For advertising on this site Write to info@scegliauto.com
ScegliAuto is not responsible for any inaccuracy of the data in the lists. To report any inaccuracy or your business (if you own the business in question), please write to info@scegliauto.com
Number of seconds to generate the page: 0.030
(c) ScegliAuto 2026 - info@scegliauto.com - Privacy policy VAT number: IT01247470535 |
