
|
Do it yourself
| |||
| ||||


How to Remove Spark Plugs on an Audi A6
Model: Audi A6
MK 1, C4
- Years 1994-1997
Let's see how to remove the spark plugs on an Audi A6: Pull the hood release lever and lift the hood, secure it with the prop rod. Remove the soundproofing panel covering the engine head (if present) using a socket wrench. Next, pull off the coil pack cover, then use your socket wrench to unscrew the spark plugs. Pull them out of the cylinder head. Take the new spark plugs and guide them into the engine head using the socket extension. Tighten them properly, reattach the ignition coils, and reinstall the panel you removed earlier. Close the hood.
Updated on 1 March 2026 by ScegliAuto
Video tutorial
Related tutorials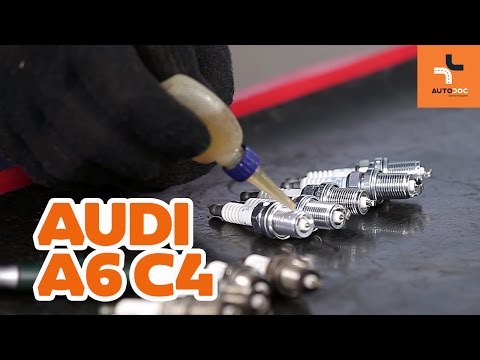
Audi A6
(1994-1997 /
MK 1, C4)
It is recommended to perform this maintenance with the engine cold to handle the spark plugs without risking burns; once you open the hood, locate th…

Audi A6
(1997-2004 /
C5, MK 2)
Following these brief and simple steps, we will see how to disassemble and replace the ignition cylinder of the Audi A6. First, we get into the car a…

Audi A6
(1997-2004 /
C5, MK 2)
In this guide we will see how to disassemble and replace the air vents of the Audi A6, also in the Allroad version. First of all, we get on board the…
Other guides you may be interested in
|
Removing the Timing Belt on a Suzuki Vitara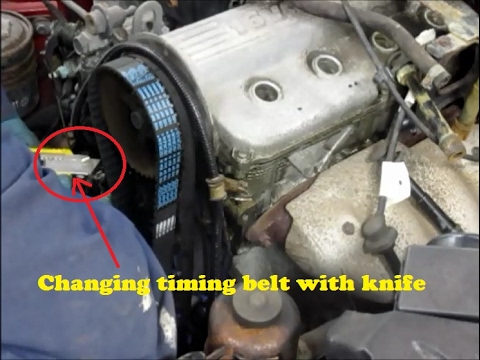
In this video, see the removal and replacement of the timing belt and water pump on a Suzuki Vitara. Open the bonnet and lift it, securing it in place. Use a socket wrench to remove the cooling radiator along with the associated hoses. Disconnect the power wiring using pliers, and remove the plastic undertray with a screwdriver. Use a spanner to loosen the tensioner pulley and slide the belt off its seat. Use a socket wrench to unscrew the tensioner pulley bolt, and remove the water pump as shown in the video. Fit the new water pump, the tensioner, and the belt itself, tightening everything with the socket wrench. Finally, reinstall the radiator with the securing bolts. by ScegliAuto More videos
|
|
For advertising on this site Write to info@scegliauto.com
ScegliAuto is not responsible for any inaccuracy of the data in the lists. To report any inaccuracy or your business (if you own the business in question), please write to info@scegliauto.com
Number of seconds to generate the page: 0.072
(c) ScegliAuto 2026 - info@scegliauto.com - Privacy policy VAT number: IT01247470535 |