
|
Do it yourself
| |||
| ||||


Replacement of the control arm of the Audi A6 MK2
Model: Audi A6
MK 2, C5
- Years 1997-2004
To replace the control arm of the Audi A6, loosen the nuts of the front wheel and lift the car with a bridge; finish unscrewing the nuts and remove the wheel. With a brush and spray cleaner, clean the fastening nuts of the control arm and unscrew them, starting from the ball joint for which we will also need an extractor. To remove the rear fixing screw, you need to remove the side cover; insert the new control arm and fix it using new bolts, to tighten the ball joint use a hydraulic lifter. Finish tightening the bolts using a torque wrench at 65Nm for the joint and 85Nm for the rear attachment, put the wheel back on and repeat the operations on the other side.
Posted on 2 May 2025 by ScegliAuto
Video tutorial
Related tutorials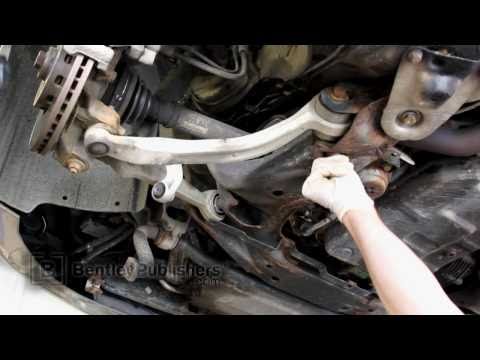
Audi A6
(1997-2004 /
MK 2, C5)
Lift the vehicle on a lift and first remove the bolt securing the stabilizer bar to the suspension control arm. Then remove the nut from the ball joi…
Audi A6
(1997-2004 /
MK 2, C5)
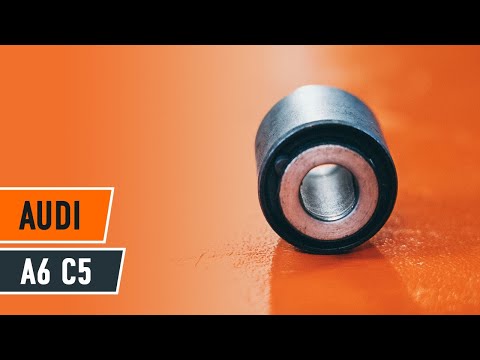
Let's see how to remove and replace the silentblock on an Audi A6. Position your car on a column lift and raise it to a comfortable height for workin…

Audi A6
(1997-2004 /
MK 2, C5)
Lift the vehicle on a lift and remove the wheel corresponding to the suspension you need to work on.
Then, remove the mounting bolts for the control …
Other guides you may be interested in
|
How to Open the Fuel Cap of the Volkswagen Jetta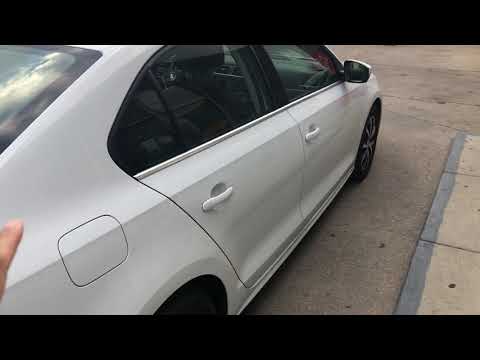
When you need to refuel this vehicle, first open the fuel filler flap. Follow these simple instructions, and you can also watch the video for more details. First, unlock the central locking to open the flaps. Then, press the fuel cap with your hand to unlock it and open it. Underneath, you will find the fuel cap, which you need to unscrew counterclockwise. At this point, you can proceed to refuel. by ScegliAuto More videos
|
|
For advertising on this site Write to info@scegliauto.com
ScegliAuto is not responsible for any inaccuracy of the data in the lists. To report any inaccuracy or your business (if you own the business in question), please write to info@scegliauto.com
Number of seconds to generate the page: 0.388
(c) ScegliAuto 2026 - info@scegliauto.com - Privacy policy VAT number: IT01247470535 |
