
|
Do it yourself
| |||
| ||||


How to Replace the Interior Rear View Mirror on Audi A3
Model: Audi A3
8V, MK 3
- Years 2012-2019
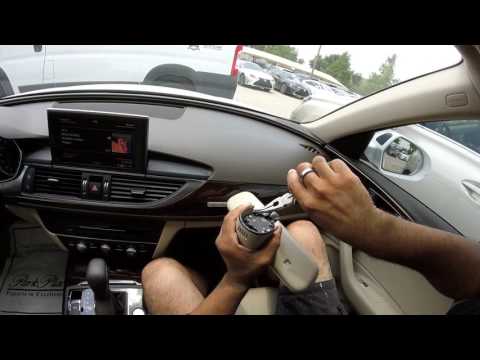
In this video tutorial, you can see how to replace the interior rear view mirror on the Audi A3 by following some simple steps: the first thing to do is purchase an interior rear view mirror from an authorised car parts dealer. The next step is to get inside the vehicle, turn off the car, and pull the handbrake. Pry off the plastic cover of the mirror, as illustrated in the video (use plastic trim tools to pry), then widen the plastic and slide it downwards. Also remove the other plastic cover by pulling from the tip downwards. Once the plastic covers are removed, turn the mirror counterclockwise (about 45°) to detach it from its mount. Now you can insert the new mirror and reassemble all parts in reverse order.
Updated on 8 July 2026 by ScegliAuto
Video tutorial
Related tutorials
Audi A3
(2020-2026 /
8Y, MK 4)
Today we will see the process of disassembling and replacing the interior rearview mirror of the Audi A3. First of all, we get into the cabin and sta…
Audi A3
(2012-2019 /
8V, MK 3)
To replace the interior rearview mirror of the Audi A3, you need to pry with an object in order to detach the internal fastening clips that hold the …

Audi A3
(2003-2013 /
MK 2, 8P)
It will be possible to replace the external rearview mirror of the Audi A3 by prying with an object to detach the triangular internal trim panel at t…
Other guides you may be interested in
|
Where is the Fuel Filter Located in a Volvo XC60?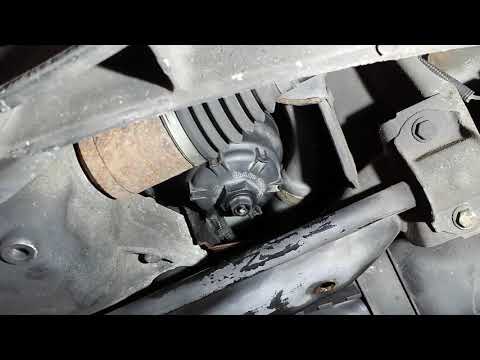
In this video, you will see where the fuel filter is located in a Volvo XC60 and how to proceed if you need to replace it. As shown, the filter is positioned at the lower part of the engine, right between the left half-shaft and the sway bar attachment. To replace the filter, first, go underneath the vehicle, taking all necessary safety precautions. Then, using an 18mm wrench, open the drain valve and allow any water present to escape. Next, unscrew the housing, remove the old filter, insert the replacement along with a new gasket, and reassemble everything. by ScegliAuto More videos
|

|
For advertising on this site Write to info@scegliauto.com
ScegliAuto is not responsible for any inaccuracy of the data in the lists. To report any inaccuracy or your business (if you own the business in question), please write to info@scegliauto.com
Number of seconds to generate the page: 0.509
(c) ScegliAuto 2026 - info@scegliauto.com - Privacy policy VAT number: IT01247470535 |
