
|
Do it yourself
| |||
| ||||


How to Reset the Battery After Replacement on a BMW i3
Let's see how to proceed after replacing the battery on the BMW i3: we are referring to the 12V battery, which requires a registration procedure to inform the intelligent management system, but is manageable by the user. The method shown in the video uses professional software: connect the professional diagnostic tool (Autel, Launch, or the original BMW ISTA software) to the OBD2 port; turn on the ignition and navigate through the software to the "battery registration" function. Confirm the replacement, and the computer resets the previous battery counter and begins treating the new battery as such. If you prefer a more DIY-friendly method, you can use the "bimmerCode" or "BimmerLink" app with an OBD adapter. Connect it, start the car, and open the BimmerLink app: look for the "battery registration" option and follow the instructions. The app resets the counter. If you do not perform the registration, the onboard system will think the old battery is still present, which could lead to overcharging the new battery, shortening its lifespan.
Posted on 26 April 2026 by ScegliAuto
Video tutorial
Related tutorials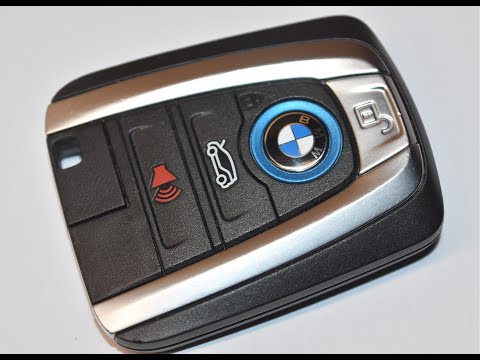
BMW i3
(2013-2022 /
MK 1)
To replace the battery inside your BMW i3 remote (2013-2022), follow these simple steps. First, ensure you have a new ECR 2032 battery. Then, take th…

BMW i3
(2013-2022 /
MK 1)
Replacing the battery of a BMW I3 remote control is a simple and quick operation to be carried out independently. The battery we will use for the rep…
BMW i3
(2013-2022 /
MK 1)
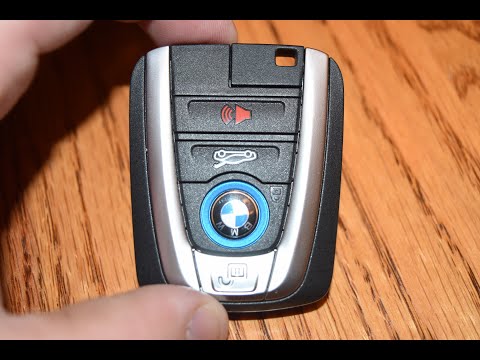
The procedure to replace the remote battery of a BMW i3 involves removing the key from its housing: once it has been removed, use an object to pry op…
Other guides you may be interested in
|
How to Connect the Cables to the Battery of the Citroen Xsara Picasso?
In this tutorial, you will see how to connect the cables to the battery of the Citroen Xsara Picasso, useful if you need to recharge it or perform an emergency start. First, ensure the key is not inserted, then open the bonnet and move to the front of the left headlamp. Next, locate the bolt just behind the filter box and connect the positive terminal clamp to it. Now you can connect the negative terminal to any point on the chassis, such as the indicated point. Once the operation is complete, ensure you disconnect the negative first and then the positive. by ScegliAuto More videos
|

|
For advertising on this site Write to info@scegliauto.com
ScegliAuto is not responsible for any inaccuracy of the data in the lists. To report any inaccuracy or your business (if you own the business in question), please write to info@scegliauto.com
Number of seconds to generate the page: 0.112
(c) ScegliAuto 2026 - info@scegliauto.com - Privacy policy VAT number: IT01247470535 |
