
|
Do it yourself
| |||
| ||||


How to Remove the Headliner of a BMW 3 Series E46
Model: BMW Serie 3
E46
- Years 1998-2006
Start by removing the screw covers and screws from all the pillars of the vehicle, then remove the covers from the pillars themselves. Once done, remove the sun visors and their supports by unscrewing the screws that hold them and disconnecting the two plugs. After removing the sun visors, focus on the interior lights of the cabin. Proceed to remove the cover behind the lights using a flathead screwdriver. Then you can remove the lights by disconnecting the clips that hold them and then unplugging the connectors. At this point, remove the plastic covers on the sides of the handles, then remove the screws underneath and subsequently the handles themselves. You will also need to remove the screws located under the coat hanger and the coat hanger itself. Once all these components are removed, you can finally take out the headliner, successfully completing the disassembly.
Updated on 29 April 2026 by ScegliAuto
Video tutorial
Related tutorials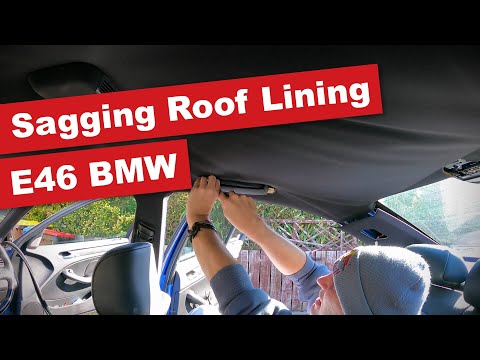
BMW Serie 3
(1998-2006 /
E46)
Follow these step-by-step instructions to remove and replace the headliner of the BMW 3 Series. First, get inside the cabin and start by removing the…
BMW Serie 3
(1998-2006 /
E46)
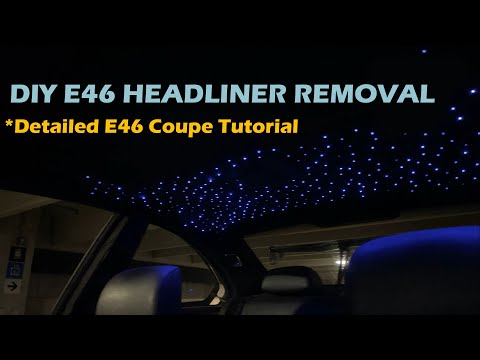
Following these simple steps, we will see how to disassemble and replace the headliner or the interior roof lining of the BMW 3 Series. First of all,…
BMW Serie 3
(1998-2006 /
E46)
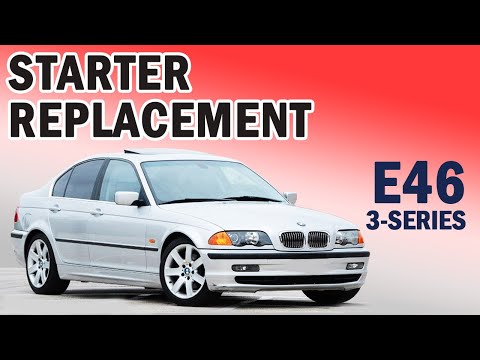
In this video tutorial, you will learn how to remove and replace the starter motor on the BMW 3 Series E46, following the instructions below. First, …
Other guides you may be interested in
|
Frequently Asked QuestionsHow to Set the Clock on the Opel Zafira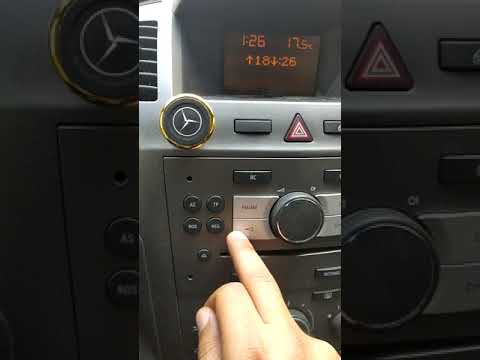
Setting the clock to the current Italian time on an Opel Zafira model B is a very simple operation, also made easier by our short instructional video. The first step is to turn on the instrument panel and then press the SETTING button located on the central dashboard. Once inside the menu, use the buttons to navigate to the clock setting. Adjust the hours and minutes and restart the instrument panel. If the clock does not update, it may be necessary to diagnose the radio or the vehicle's control unit. by ScegliAuto More videos
|
|
For advertising on this site Write to info@scegliauto.com
ScegliAuto is not responsible for any inaccuracy of the data in the lists. To report any inaccuracy or your business (if you own the business in question), please write to info@scegliauto.com
Number of seconds to generate the page: 0.070
(c) ScegliAuto 2026 - info@scegliauto.com - Privacy policy VAT number: IT01247470535 |
