
|
Do it yourself
| |||
| ||||


How to Open the Hood When the Release Cable is Broken
Model: BMW Serie 5
E39
- Years 1995-2003
In this video, you will see how to open the hood even though the metal wire of the release cable is broken. Sometimes, after constant use of the hood opening mechanism, the wire can break. At that point, opening the hood can become quite a challenge. In the car in question, there are two hood latch areas, one located on the passenger side and the other on the driver side. To open the passenger side latch, you will need to pull the hood release cable (after locating it) from underneath the car. To release the driver side latch, the situation is much more complicated, as you will have to deal with a specific release mechanism that is very difficult to locate with the hood closed. Therefore, I invite you to closely observe the video to get an idea of the mechanism's location and operation.
Updated on 9 February 2026 by ScegliAuto
Video tutorial
Related tutorials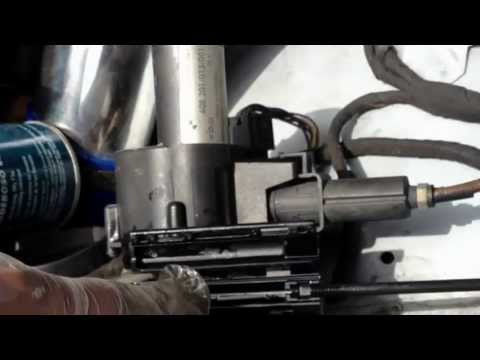
BMW Serie 5
(1995-2003 /
E39)
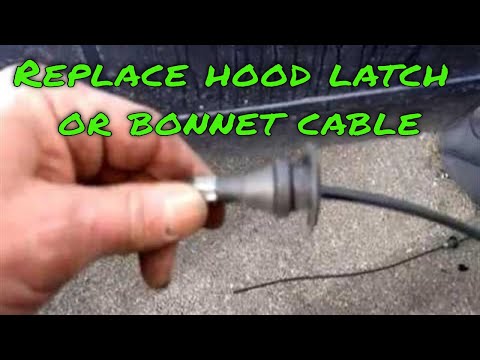
The front hood release cable runs from the release lever, located near the driver’s side kick panel, to the hood latch; this cable is divided into tw…
BMW Serie 5
(1995-2003 /
E39)
In today's video tutorial we will see how to replace the bonnet opening cable of the Bmw 5 Series E39, following these simple steps. First we open th…
BMW Serie 5
(1995-2003 /
E39)
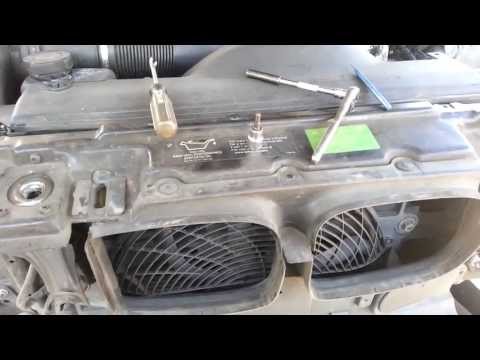
The front hood of the car model in question is equipped with two locking mechanisms located at the front of the grille. To begin the removal process,…
Other guides you may be interested in |
How to Replace the Fuel Filler Flap of a Volkswagen Golf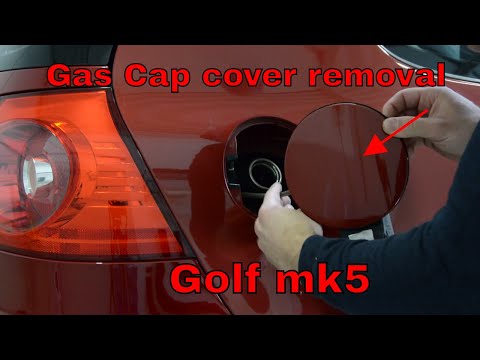
As the first step, open the fuel flap and unscrew the cap of the fuel filler neck. Just below the flap closure hook, there is a screw to unscrew. This way, you can easily pull the edge you just unscrewed with your hands. Be careful with the gasket present, and with great care, continue with the extraction of the flap. Once removed, you can make the necessary replacements. Now, retrace the steps described in reverse for reassembling the various components, and you're done! by ScegliAuto More videos
|
|
For advertising on this site Write to info@scegliauto.com
ScegliAuto is not responsible for any inaccuracy of the data in the lists. To report any inaccuracy or your business (if you own the business in question), please write to info@scegliauto.com
Number of seconds to generate the page: 0.043
(c) ScegliAuto 2026 - info@scegliauto.com - Privacy policy VAT number: IT01247470535 |