
|
Do it yourself
| |||
| ||||


How to replace the gear knob of the Citroën C3 Picasso.
Model: Citroen C3 Picasso
MK 1
- Years 2008-2017
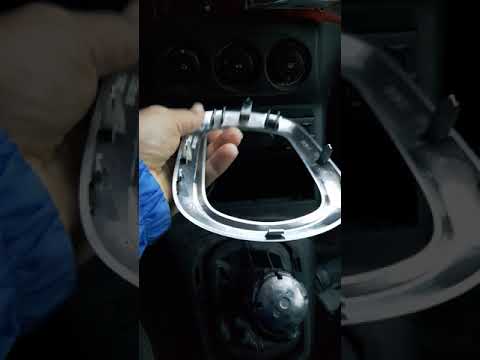
Today we will explain how to replace the gear knob and gaiter of the 2009 Citroen C3 Picasso. To perform this operation, we need to insert a flathead screwdriver into the base of the gaiter to remove the plastic base. We turn the fabric of the gaiter inside out to detach the metal clip that secures the gaiter to the knob. We remove the knob by pulling it upwards and take out the gaiter. We insert the base of the new knob into the gaiter and secure the gaiter and knob with a new clip. We place both pieces back into the gear mechanism. We attach the plastic part to the central dashboard to position the gaiter. Finally, we insert the new knob into the mechanism and test the operation of the gear by shifting through the various gears.
Posted on 31 December 2025 by ScegliAuto
Video tutorial
Related tutorials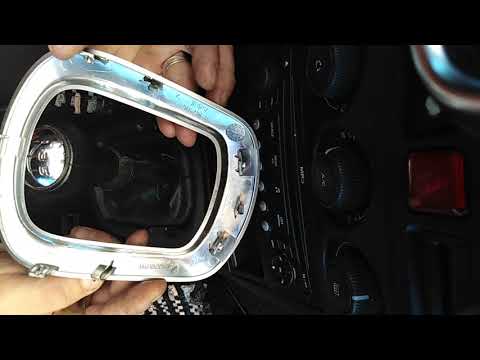
Citroen C3 Picasso
(2008-2017 /
MK 1)
To replace the gear knob on the Citroën C3 Picasso, first detach the plastic cover at the base of the lever, around the leather gaiter that surrounds…
Citroen C3 Picasso
(2008-2017 /
MK 1)
Start by removing the trim around the gear lever gaiter. Once removed, you can access the two clips securing the gaiter frame, which you will unclip …

Citroen C3 Picasso
(2008-2017 /
MK 1)
In this video tutorial, you will see the instructions for removing and replacing the gear knob on the 2009 Citroen C3 Picasso in simple and quick ste…
Other guides you may be interested in
|
How to Adjust the Brightness of the Instrument Cluster on a Peugeot 3008?
To adjust the brightness of the instrument cluster on a Peugeot 3008, you need to turn on the ignition and access the settings via the menu located in the central area of the dashboard. In the screen that appears, select the "Display Configuration" option: now, by selecting the "Brightness" option, you can adjust it using the dedicated slider that will appear on the screen. The adjustment should be made with the headlights on as well as with them off. Once the adjustment is complete, you can turn off the instrument cluster. by ScegliAuto More videos
|

|
For advertising on this site Write to info@scegliauto.com
ScegliAuto is not responsible for any inaccuracy of the data in the lists. To report any inaccuracy or your business (if you own the business in question), please write to info@scegliauto.com
Number of seconds to generate the page: 0.092
(c) ScegliAuto 2026 - info@scegliauto.com - Privacy policy VAT number: IT01247470535 |
