
|
Do it yourself
| |||
| ||||


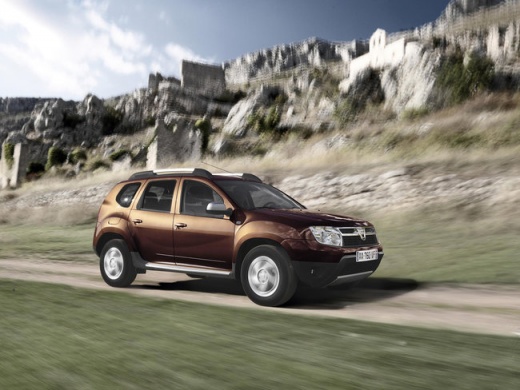
Installing LED Fog Lights with Angel Eyes on Dacia Duster
Model: Dacia Duster
HS, MK 1
- Years:
2010, 2011, 2012, 2013, 2014, 2015, 2016, 2017
Video tutorial
Before proceeding with the installation of LED fog lights on the Dacia Duster, position the car on a ramp or flat surface to work safely. Once done, open the front bonnet of the engine compartment and remove the bumper by unscrewing the four upper screws and the five lower screws. After disconnecting the electrical connector, carefully pull the bumper off its housing, paying attention to the side clips. From the back, remove the fog light assembly by unscrewing the two screws that hold it in place. Take the new LED unit and install it in place of the old one. Make the necessary electrical connections (following the instructions in the video) and reassemble everything.
Updated on 22 March 2026 by ScegliAuto
Related tutorials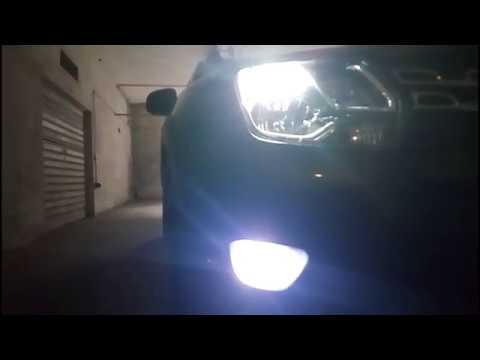
Dacia Duster
(2010-2017 /
HS, MK 1)
Watch this video to learn how to replace the bulb/LED in the fog light on a Dacia Duster. Lift the car on a column lift and secure it. Prepare to rem…
Dacia Duster
(2010-2017 /
HS, MK 1)
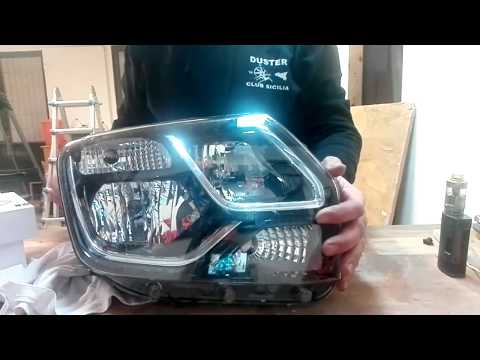
In this video, see how to install LED bulbs on the Dacia Duster. Once the headlamp is removed (it is easier to work this way than directly on the car…

Dacia Duster
(2010-2017 /
HS, MK 1)
This guide explains how to access the fuse box located inside the cabin of the 2014 Dacia Duster. The fuse box is situated within the left side panel…
ScegliAuto offers an extensive international collection of automotive tutorials available in 12 languages. Each guide combines instructional videos with original explanations written by experienced human editors, along with information about the car models covered.
Other guides you may be interested in
|
How to Change the Date and Time on the Renault Scenic
In this guide, you will find instructions to change the date and time on the Renault Scenic in simple steps. First, get in the vehicle and turn on the instrument panel; then navigate to the vehicle settings using the knob, selecting the clock menu, as shown in the video. At this point, you can modify the time and date, also selecting the desired format; finally, exit the settings menu to save the changes, allowing you to adjust the time at any moment! by ScegliAuto More videos
|
|
For advertising on this site Write to info@scegliauto.com
ScegliAuto is not responsible for any inaccuracy of the data in the lists. To report any inaccuracy or your business (if you own the business in question), please write to info@scegliauto.com
Number of seconds to generate the page: 0.034
(c) ScegliAuto 2026 - info@scegliauto.com - Privacy policy - About us VAT number: IT01247470535 |
