
|
Do it yourself
| |||
| ||||


How to Remove the Fuse Box from a Dacia Duster
Model: Dacia Duster
HS, MK 1
- Years 2010-2017
Before you begin, open the driver's side door of your Dacia Duster. Start by prising off and removing the outer side cover of the fuse box using a flathead screwdriver. This will give you access to the fuse box. Next, unscrew and remove the screws that secure the fuse box to its housing. At this point, you can extract the fuse box and then disconnect the electrical connectors, successfully completing the removal.
Updated on 6 April 2026 by ScegliAuto
Video tutorial
Related tutorials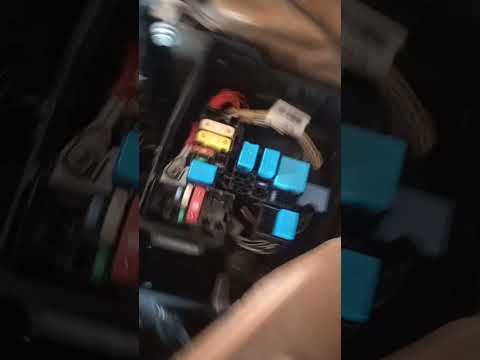
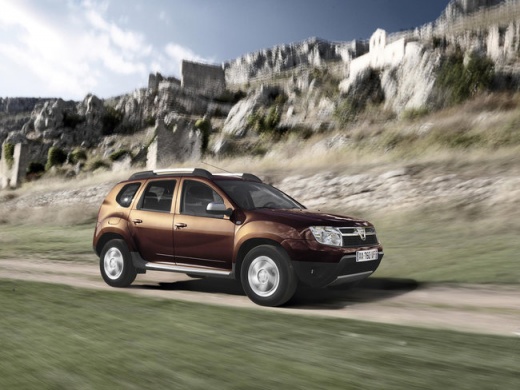
Dacia Duster
(2010-2017 /
HS, MK 1)
The Dacia Duster has two fuse boxes. The first fuse box is located inside the cabin, specifically on the outer part of the driver's side dashboard. T…

Dacia Duster
(2017-2024 /
HM, MK 2)
Today we will see how to access the fuse box located in the front hood of the Dacia Duster model 2. The Dacia Duster has two fuse boxes inside. The f…

Dacia Duster
(2010-2017 /
HS, MK 1)
In this video tutorial we will show you the position of the fuse box on a Dacia Duster car produced from 2010 to 2016. The first fuse box is located …
Other guides you may be interested in
|
Frequently Asked QuestionsHow to Open the Bonnet of a Renault Megane if the Lever is Broken?
If the lever that unlocks the bonnet of the Renault Megane is broken or not functioning, there is an emergency procedure to unlock the mechanism: remove the right front grille located at the top of the bumper. Once the grille is removed, you can locate the actuator mechanism: by pulling the spring in this position, you can unlock the actuator, allowing you to lift the bonnet and access the components located inside the engine compartment. You can then close the bonnet simply by lowering it. by ScegliAuto More videos
|
|
For advertising on this site Write to info@scegliauto.com
ScegliAuto is not responsible for any inaccuracy of the data in the lists. To report any inaccuracy or your business (if you own the business in question), please write to info@scegliauto.com
Number of seconds to generate the page: 0.318
(c) ScegliAuto 2026 - info@scegliauto.com - Privacy policy VAT number: IT01247470535 |
