
|
Do it yourself
| |||
| ||||


How to Find and Enter the Radio Code in a Dacia?
Model: Dacia Duster
HM, MK 2
- Years 2017-2024
As shown in the video, retrieving the radio code in a Dacia is quick and simple. Access the Play Store on your smartphone and search for "radio code calculator". Install the application and open it. Select the car model, in our case, press on "Dacia"; you will see a scanner for the code and 4 empty spaces that will form the activation code. Pull the radio forward until you can read the top label. Only consider the last three numbers below the barcode, in the video A206, and enter them in the aforementioned spaces. The 4-digit code to unlock the radio will appear automatically.
Updated on 12 April 2026 by ScegliAuto
This video is currently unavailable
Related tutorials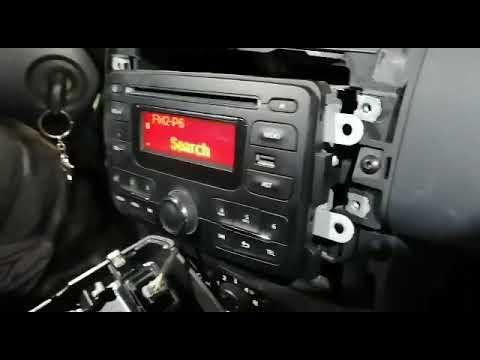
Dacia Duster
(2010-2017 /
HS, MK 1)
Let's briefly see the instructions that will allow us to find and enter the radio code of the Dacia Duster, in simple and quick steps. To find the ra…
Dacia Duster
(2010-2017 /
HS, MK 1)
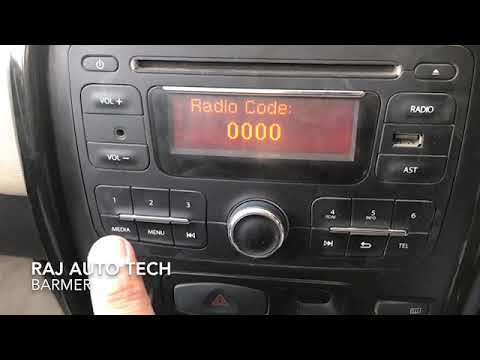
In this video tutorial, we will provide instructions on how to enter the radio code in a first-generation Dacia Duster. The radio code is provided di…
Dacia Duster
(2010-2017 /
HS, MK 1)
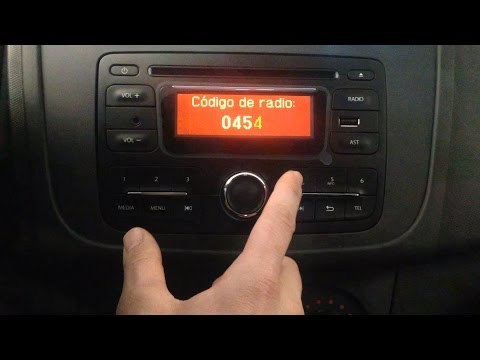
If you disconnect the battery, it may happen that upon reactivating the radio, you need to enter the unlock code to reactivate it: this is a four-dig…
Other guides you may be interested in |
Frequently Asked QuestionsHow to Open the Bonnet on the Lancia Y
To open the bonnet on this vehicle, follow these simple instructions: first, open the driver's door and locate the lever positioned just below the dashboard, marked with an image of the vehicle with the bonnet open. Pull this lever towards you until you hear a "click" indicating the bonnet is released. Next, exit the cabin and stand in front of the bonnet to disengage the safety catch and complete the opening. To do this, slightly lift the bonnet, locate the yellow lever underneath, and pull it to the left to fully release and open the bonnet. by ScegliAuto More videos
|
For advertising on this site Write to info@scegliauto.com
ScegliAuto is not responsible for any inaccuracy of the data in the lists. To report any inaccuracy or your business (if you own the business in question), please write to info@scegliauto.com
Number of seconds to generate the page: 0.530
(c) ScegliAuto 2026 - info@scegliauto.com - Privacy policy VAT number: IT01247470535 |
