
|
Do it yourself
| |||
| ||||


How to Remove the Rear Light of a Dacia Dokker?
Model: Dacia Dokker
MK 1
- Years 2013-2024
Removing and replacing the rear light of a Dacia Dokker is a straightforward and quick operation. Start by fully opening the tailgate and proceed to unscrew the Torx screws securing the light, located on the inner side. Next, using a flathead screwdriver or, preferably, a plastic spatula, disengage the light from the bodywork. Once extracted, disconnect the rear connector and fit the replacement following the exact reverse procedure. Repeat the operation for the opposite light if necessary.
Updated on 9 May 2026 by ScegliAuto
Video tutorial
Related tutorials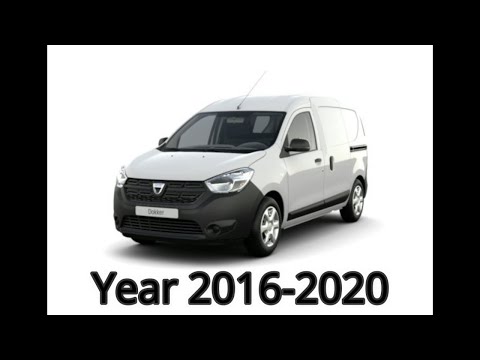
Dacia Dokker
(2013-2024 /
MK 1)
Let's see how to remove and replace the bulbs of the front headlamp on a Dacia Dokker. Lift the front bonnet of the car and access the back of the fr…

Dacia Dokker
(2013-2024 /
MK 1)
In this video, we can see the location and diagram of the fuse box of the Dacia Dokker: we find the only fuse box, located in the cabin, at the lower…
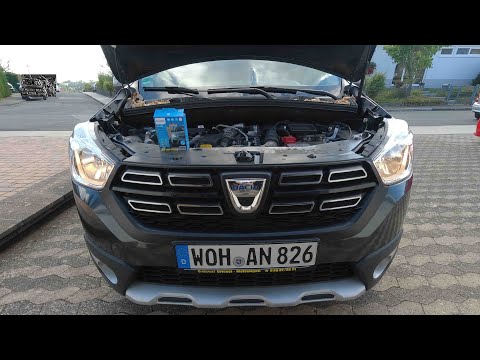
Dacia Dokker
(2013-2024 /
MK 1)
To replace the front headlight bulb in the Dacia Dokker, open the bonnet to access the components located inside the engine compartment: here you wil…
Other guides you may be interested in
|
How to Replace the Battery on a Honda Vision 110
To replace the battery on a Honda Vision 110, you need to remove the front fairing of the motorcycle, located directly under the front headlamp. To loosen this panel, unscrew the two screws found at its top, just below the handlebar. Once these screws are loosened, lever under the panel to detach it, gaining access to the battery underneath: this battery must be removed from its housing by unscrewing the fixing screws and disconnecting the power cables, replacing it with a new one. by ScegliAuto More videos
|
|
For advertising on this site Write to info@scegliauto.com
ScegliAuto is not responsible for any inaccuracy of the data in the lists. To report any inaccuracy or your business (if you own the business in question), please write to info@scegliauto.com
Number of seconds to generate the page: 0.146
(c) ScegliAuto 2026 - info@scegliauto.com - Privacy policy VAT number: IT01247470535 |
