
|
Do it yourself
| |||
| ||||


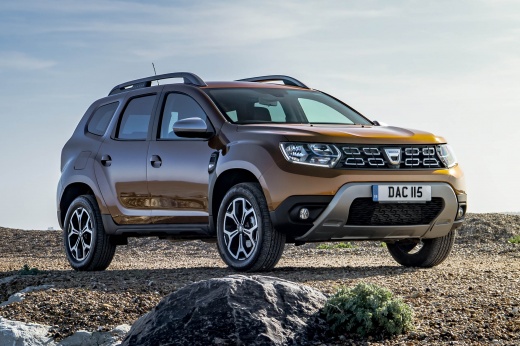
Procedure for Replacing the Cabin Filter in a Dacia Duster II
Model: Dacia Duster
HM, MK 2
- Years:
2017, 2018, 2019, 2020, 2021, 2022, 2023, 2024
Video tutorial
In this video tutorial, see the procedure for replacing the cabin filter in a Dacia Duster II by following some simple steps: the first thing to do is purchase a new cabin filter from an authorised car parts dealer. Next, get inside the vehicle, turn off the car, and pull the handbrake. Required tools include a Torx T20 key (preferably with a ball end). It is recommended to replace the filter every 12,500 miles. The cabin filter can be found under the glove compartment, on the left side of the footwell. Use one hand to lower the carpet and unscrew the Torx screws, then act on the two clips, pressing the tabs to remove the cabin filter cover. Once the cover is removed, extract the old filter and replace it with the new one, ensuring it is inserted correctly, following the arrow indications (you may need to push a bit to get it in). Reassemble all parts in reverse order.
Updated on 11 July 2026 by ScegliAuto
Related tutorials
Dacia Duster
(2010-2017 /
MK 1, HS)
If you are unsure of the steps to correctly replace the cabin air filter in your first-generation Dacia Duster (2015), read the following guide and f…

Dacia Duster
(2010-2017 /
MK 1, HS)
Do you want to replace the air filter on your Dacia Duster? Here’s how to remove the pollen filter located inside the cabin. Remove the cover located…

Dacia Duster
(2010-2017 /
MK 1, HS)
The cabin filter, or pollen filter, serves to stop fine dust from entering the cabin from outside. Its replacement is necessary to avoid harmful inha…
Other guides you may be interested in
|
How to Reset the Tire Pressure Light on a MG ZS?
On the instrument cluster of the MG ZS, the tire pressure light that appears can be reset by inflating the tires to the correct pressure: this value will be indicated on the sticker attached to the driver's door pillar. Once the tires have been properly inflated, you can turn on the instrument cluster and navigate through the menu until you find the option that indicates tire pressure: if this screen shows the new values, the light will turn off; otherwise, you will need to drive for a few miles so that the sensors can read the new values and turn off the light afterward. by ScegliAuto More videos
|
|
For advertising on this site Write to info@scegliauto.com
ScegliAuto is not responsible for any inaccuracy of the data in the lists. To report any inaccuracy or your business (if you own the business in question), please write to info@scegliauto.com
Number of seconds to generate the page: 0.088
(c) ScegliAuto 2026 - info@scegliauto.com - Privacy policy VAT number: IT01247470535 |
