
|
Do it yourself
| |||
| ||||


Light for the glove compartment: how to install it on the Dacia Duster.
Model: Dacia Duster
P1310
- Years:
2024, 2025, 2026
Video tutorial
On the Dacia Duster, installing the light in the glove compartment requires a 12V switched power source and a nearby ground point. Open the glove compartment of the Dacia Duster and clear it out, then disengage the side latches to lower it. Locate the cable passage at the back and plan the route to the fuse box or a 12V switched socket. Prepare the LED module with its wiring, create the housing in the upper edge of the compartment (or use a dedicated adhesive ceiling light) and secure the light body. Connect the positive wire through an additional fuse holder on the suitable circuit (e.g., accessory socket) and bring the ground to a frame bolt, crimping the terminals. If you are using an integrated switch, position it on the side of the compartment so that it closes when the drawer is open; alternatively, use a magnetic contact. Insulate the joints with heat shrink tubing, secure the wiring with ties along the original passages, and reassemble the drawer. Check that, on the Dacia Duster, the light turns on when opened and off when closed, without false contacts. Finish with a check of the chosen fuse and the current draw, avoiding connections on sensitive lines (airbags/ADAS).
Posted on 19 December 2025 by ScegliAuto
Related tutorials
Dacia Duster
(2024-2026 /
P1310)
In this video, we will see how to install a courtesy light in the glove compartment of a Dacia Duster MK3: first, we remove the partition located on …
Dacia Duster
(2010-2017 /
MK 1, HS)
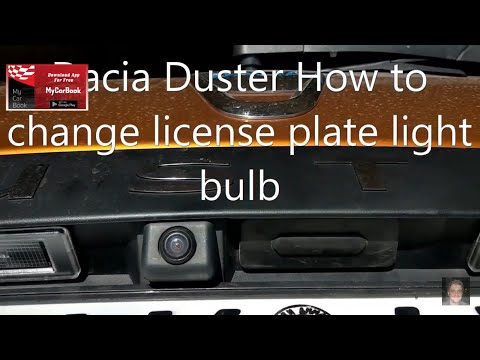
Before starting, exit the cabin of your Dacia Duster and head to the tailgate. Begin by disengaging and removing the number plate light housing. Next…

Dacia Duster
(2010-2017 /
MK 1, HS)
To easily locate the OBD port inside your Dacia Duster first edition, simply follow the procedure described below. First, enter the car and reach the…
Other guides you may be interested in
|
How to Remove the Rear Seat of a Hyundai Tucson?
To remove the rear seat of a Hyundai Tucson, follow these steps. Start by moving the front seats to their most forward position to gain space. Next, locate the release lever on the underside of the rear seat, near the floor. Press this lever down while pulling the seat upwards to unlock it from the anchor pins. Once unlocked, tilt the seat upwards and forwards to remove it from its position. Repeat this process for both sides of the rear seat. Be careful of any electrical cables or components that may be connected to the seat during removal. Once the rear seat is removed, the disassembly is complete. by ScegliAuto More videos
|
|
For advertising on this site Write to info@scegliauto.com
ScegliAuto is not responsible for any inaccuracy of the data in the lists. To report any inaccuracy or your business (if you own the business in question), please write to info@scegliauto.com
Number of seconds to generate the page: 0.110
(c) ScegliAuto 2026 - info@scegliauto.com - Privacy policy VAT number: IT01247470535 |
