
|
Do it yourself
| |||
| ||||


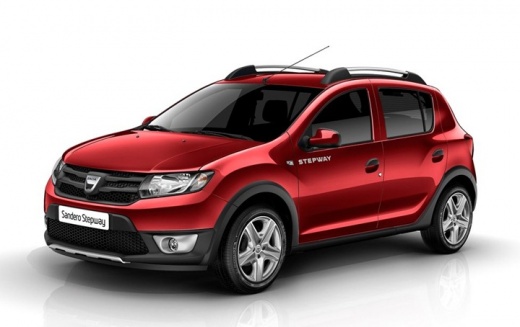
How to Remove the Third Brake Light on a Dacia Sandero
Model: Dacia Sandero
B8
- Years:
2012, 2013, 2014, 2015, 2016, 2017, 2018, 2019, 2020
Video tutorial
To remove the third brake light on a Dacia Sandero, open the rear hatch and unscrew the two Torx screws. Then, there are two clips; open them and disconnect the electrical connector. Gently pry with a screwdriver, and the third brake light will come out of its housing. In this case, a custom adhesive is applied to the light. Once the adhesive is applied, reassemble it. Connect the plug, reinsert the light using the appropriate guide, replace the two Torx screws, and check the effect of the custom adhesive on the light. Of course, you may have removed it for various reasons, perhaps to change the bulb.
Updated on 17 August 2026 by ScegliAuto
Related tutorials
Dacia Sandero
(2021-2026 /
MK 3)
Today we will see the instructions that will allow us to disassemble and replace the bulbs and the third brake light of the Dacia Sandero. First of a…

Dacia Sandero
(2012-2020 /
B8)
In this tutorial you can see the steps to follow to remove the third brake light on a Dacia Sandero car. First of all, to access the light in questio…

Dacia Sandero
(2008-2012 /
BS)
Below you will find the description of all the various steps you need to follow if you want to manually reset the service light of your Dacia Sandero…
Other guides you may be interested in |
How to reset the tyre pressure warning light on the Kia Niro EV?
To reset the tyre pressure warning light on the Kia Niro EV, inflate the tyres until they reach the correct pressure value. This value is indicated on the sticker attached to the driver's door pillar. Once the tyres are inflated, turn on the instrument cluster to check that the warning light has completely disappeared from the display. If it is still present, you may need to drive for a few miles to ensure it disappears completely from the screen. by ScegliAuto More videos
|
|
For advertising on this site Write to info@scegliauto.com
ScegliAuto is not responsible for any inaccuracy of the data in the lists. To report any inaccuracy or your business (if you own the business in question), please write to info@scegliauto.com
Number of seconds to generate the page: 0.012
(c) ScegliAuto 2026 - info@scegliauto.com - Privacy policy VAT number: IT01247470535 |
