
|
Do it yourself
| |||
| ||||


How to update the maps on the Citroen DS7 navigator
Model: DS DS 7
MK 1
- Years 2020-2026
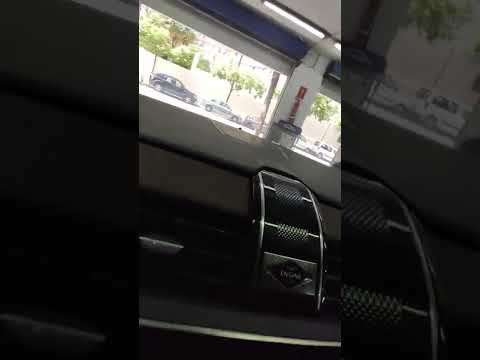
In this video, we will see how to update the maps on the Citroen DS7 navigator: we will need a USB stick with a minimum capacity of 32 GB and the MyDS app on our smartphone, which we will open to the page dedicated to the information of our vehicle; we open the touchscreen page, where we will request the update of the maps and the touchscreen. We open the email from the PC where we will find a link to download a rather heavy update file, which will then need to be downloaded to make it functional. We transfer the SWL file and the update file to the USB stick (formatted in FAT32) and move to the vehicle. We turn on the vehicle and go to the settings where we will deactivate start & stop, go to the navigation page and insert the USB stick; the system will immediately give us an error page, but then the system will find the files to read and we will only need to confirm that we want to update. We select the update and confirm "install". During the update, the engine must remain on and we must not remove the USB stick: the whole process will take about 45 minutes. Then we must follow the system instructions to confirm the version, and only at this point can we turn off the engine.
Posted on 6 January 2025 by ScegliAuto
Video tutorial
Related tutorials
DS DS 7
(2020-2026 /
MK 1)
In this video we can see how to deactivate the service light of a Citroen DS7: turn on the instrument panel without starting the engine and then pres…

DS DS 7
(2020-2026 /
MK 1)
Resetting the tire pressure warning light in the Citroen DS7, as we can see in this tutorial, is an extremely simple and quick operation. Before proc…
DS DS 7
(2020-2026 /
MK 1)
In this guide, you will see the procedure necessary to reset the maintenance light on a Citroen DS7. This operation should be performed every time yo…
Other guides you may be interested in
|
How to Replace the Remote Battery for the Volvo XC40?
In this tutorial, you will see how to replace the battery in the remote for the Volvo XC40, a very simple and quick operation. For this, you will need a replacement battery of type CR2032 and possibly a small flathead screwdriver. First, remove the front cover by pressing the button on the metal ring, then locate the second button, press it as well, and remove the opposite cover. Next, open the circular cap, take out the old battery, and insert the new one in the opposite direction. Finally, reassemble everything. by ScegliAuto More videos
|

|
For advertising on this site Write to info@scegliauto.com
ScegliAuto is not responsible for any inaccuracy of the data in the lists. To report any inaccuracy or your business (if you own the business in question), please write to info@scegliauto.com
Number of seconds to generate the page: 0.089
(c) ScegliAuto 2026 - info@scegliauto.com - Privacy policy VAT number: IT01247470535 |
