
|
Do it yourself
| |||
| ||||


How to Reset the TPMS Light on the Fiat Ducato
Model: Fiat Ducato
X290
- Years:
2014, 2015, 2016, 2017, 2018, 2019, 2020, 2021, 2022, 2023, 2024, 2025
Video tutorial
Today, you will learn how to check the tyre pressure and reset the TPMS light on a Fiat Ducato vehicle. To check the tyre pressure, it is essential to use not only a pressure gauge and an air compressor but also a tester connected to the vehicle's OBD port, which will allow you to know the current tyre pressure and subsequently perform the reset procedure after adjusting it. The maximum allowed weight on the front wheels of Fiat Ducato vehicles is 1,800 kg, while on the rear wheels, it is 2,000 kg. From the tester, scan the vehicle and access the special function related to tyre pressure. Using an air compressor, adjust the tyre pressure according to the manufacturer's specifications. Then, turn on the diagnostic computer and perform the reset procedure by selecting the vehicle type and setting the new tyre pressure.
Posted on 13 February 2026 by ScegliAuto
Related tutorials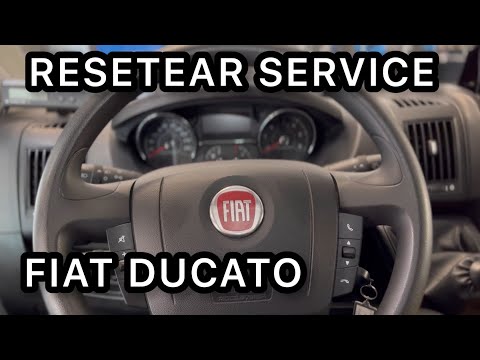
Fiat Ducato
(2014-2026 /
X290)
Below are the instructions to reset the maintenance warning light for the engine oil change on the Fiat Ducato. First, get inside the vehicle and pre…
Fiat Ducato
(2006-2014 /
X250)
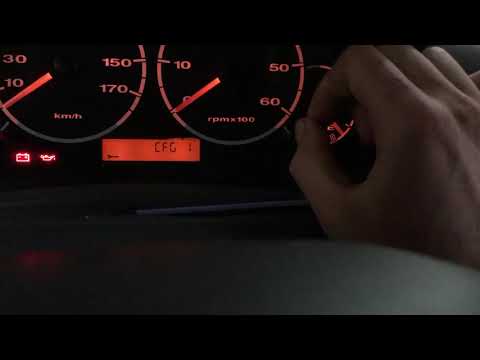
Begin by sitting in the driver's seat of your Fiat Ducato. Next, activate the instrument panel without starting the engine by turning the key to posi…
Fiat Ducato
(2014-2026 /
X290)
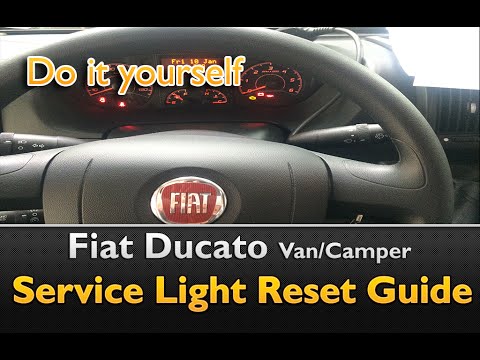
First, enter the Ducato and sit in the driver's seat. To reset the "Service" light, press the accelerator and brake pedals simultaneously with the ig…
Other guides you may be interested in |
Frequently Asked QuestionsHow to Set the Date and Time on the Iveco Daily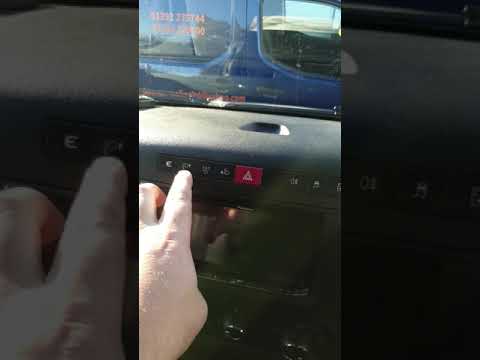
Today, we will see in this video tutorial how to change the date and time on the Iveco Daily. First, get into the vehicle and turn on the instrument panel; then go to the vehicle settings on the central display, pressing the relevant option for date and time. At this point, press the "set" button located at the top, using the physical arrow buttons to set both the date and time; finally, exit the onboard computer menu to save the changes made! by ScegliAuto More videos
|
For advertising on this site Write to info@scegliauto.com
ScegliAuto is not responsible for any inaccuracy of the data in the lists. To report any inaccuracy or your business (if you own the business in question), please write to info@scegliauto.com
Number of seconds to generate the page: 0.019
(c) ScegliAuto 2026 - info@scegliauto.com - Privacy policy VAT number: IT01247470535 |
