
|
Do it yourself
| |||
| ||||


How to Replace the Headlights on a Fiat Panda 169
Model: Fiat Panda
169, MK 2
- Years 2003-2012
Let's see how to replace the front headlights on a Fiat Panda 169. You can find a pair of new headlights for this vehicle on eBay with code 336219003067 for £89.90 with free delivery in 3 days. Now, work on the bumper with a Torx key and an 8 mm socket: loosen and partially remove the bumper in the area of the headlight to be replaced. This is a necessary step to access all the fastening points. Using a 10 mm socket, unscrew the headlight mounting bolts; once loosened, pull the headlight from its housing, being careful with the electrical connectors. Disconnect the connector. At this point, you can visually notice the substantial difference between the new headlight and the old yellowed and cloudy one. Insert the new headlight, reconnect the electrical plug, and tighten the mounting bolts with the 10 mm socket. Reposition and secure the bumper with the 8 mm Torx tools. Replace the trim. Turn on the lights to check their operation: the quality of the beam will be significantly improved, as replacing a headlight is not just an aesthetic matter; a yellowed and cloudy headlight disperses light, drastically reducing night illumination and creating dangerous shadow areas.
Posted on 4 September 2026 by ScegliAuto
Video tutorial
Related tutorials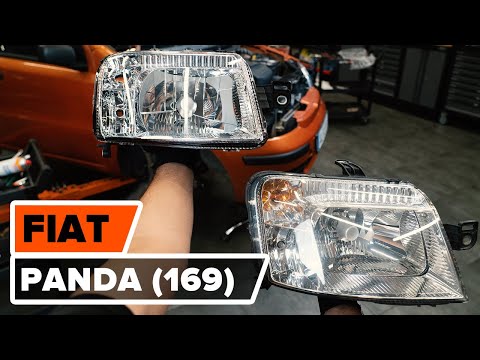
Fiat Panda
(2003-2012 /
169, MK 2)
Today, you will learn how to remove the front headlight of a Fiat Panda 169 by following these simple instructions. First, remove the fastening screw…

Fiat Panda
(2003-2012 /
169, MK 2)
This video outlines all the necessary steps to replace the thermostat on a Fiat Panda 169, including how to replace the temperature sensor. By follow…
Fiat Panda
(2003-2012 /
169, MK 2)
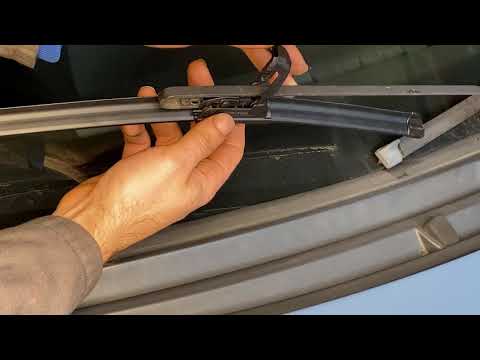
In today's video, you will replace the front and rear wiper blades on a second-generation Fiat Panda 169 in simple steps. First, start by removing an…
Other guides you may be interested in
|
How to Reset the Central Locking of the Volkswagen Golf 4?
If the central locking system of the Volkswagen Golf 4 is not working, it is likely necessary to reset the system: to do this, open the driver's door and detach the side panel of the dashboard next to the steering wheel. Under this panel, you will find the fuses, including the one for the central locking, which is indicated in the manual as number 14. To reset the system, remove this fuse from its housing, then reinsert it or replace it with a new one of the same amperage: this will reset the central locking system. by ScegliAuto More videos
|

|
For advertising on this site Write to info@scegliauto.com
ScegliAuto is not responsible for any inaccuracy of the data in the lists. To report any inaccuracy or your business (if you own the business in question), please write to info@scegliauto.com
Number of seconds to generate the page: 0.131
(c) ScegliAuto 2026 - info@scegliauto.com - Privacy policy VAT number: IT01247470535 |
